After the recent release of the Mini NES, I came across an article on building a better system for the same price, with a Raspberry Pi 3 running RetroPie OS.
I quite fancied a little weekend project and none of my old consoles connect to my TV any more, plus I didn’t mind getting my hands on a Raspberry Pi! So I bought the bits and a week later set about building my mini console*.
*OK, it’s just a tiny computer running console emulators via a GUI, but it should still bring back that 80s/90s console magic!
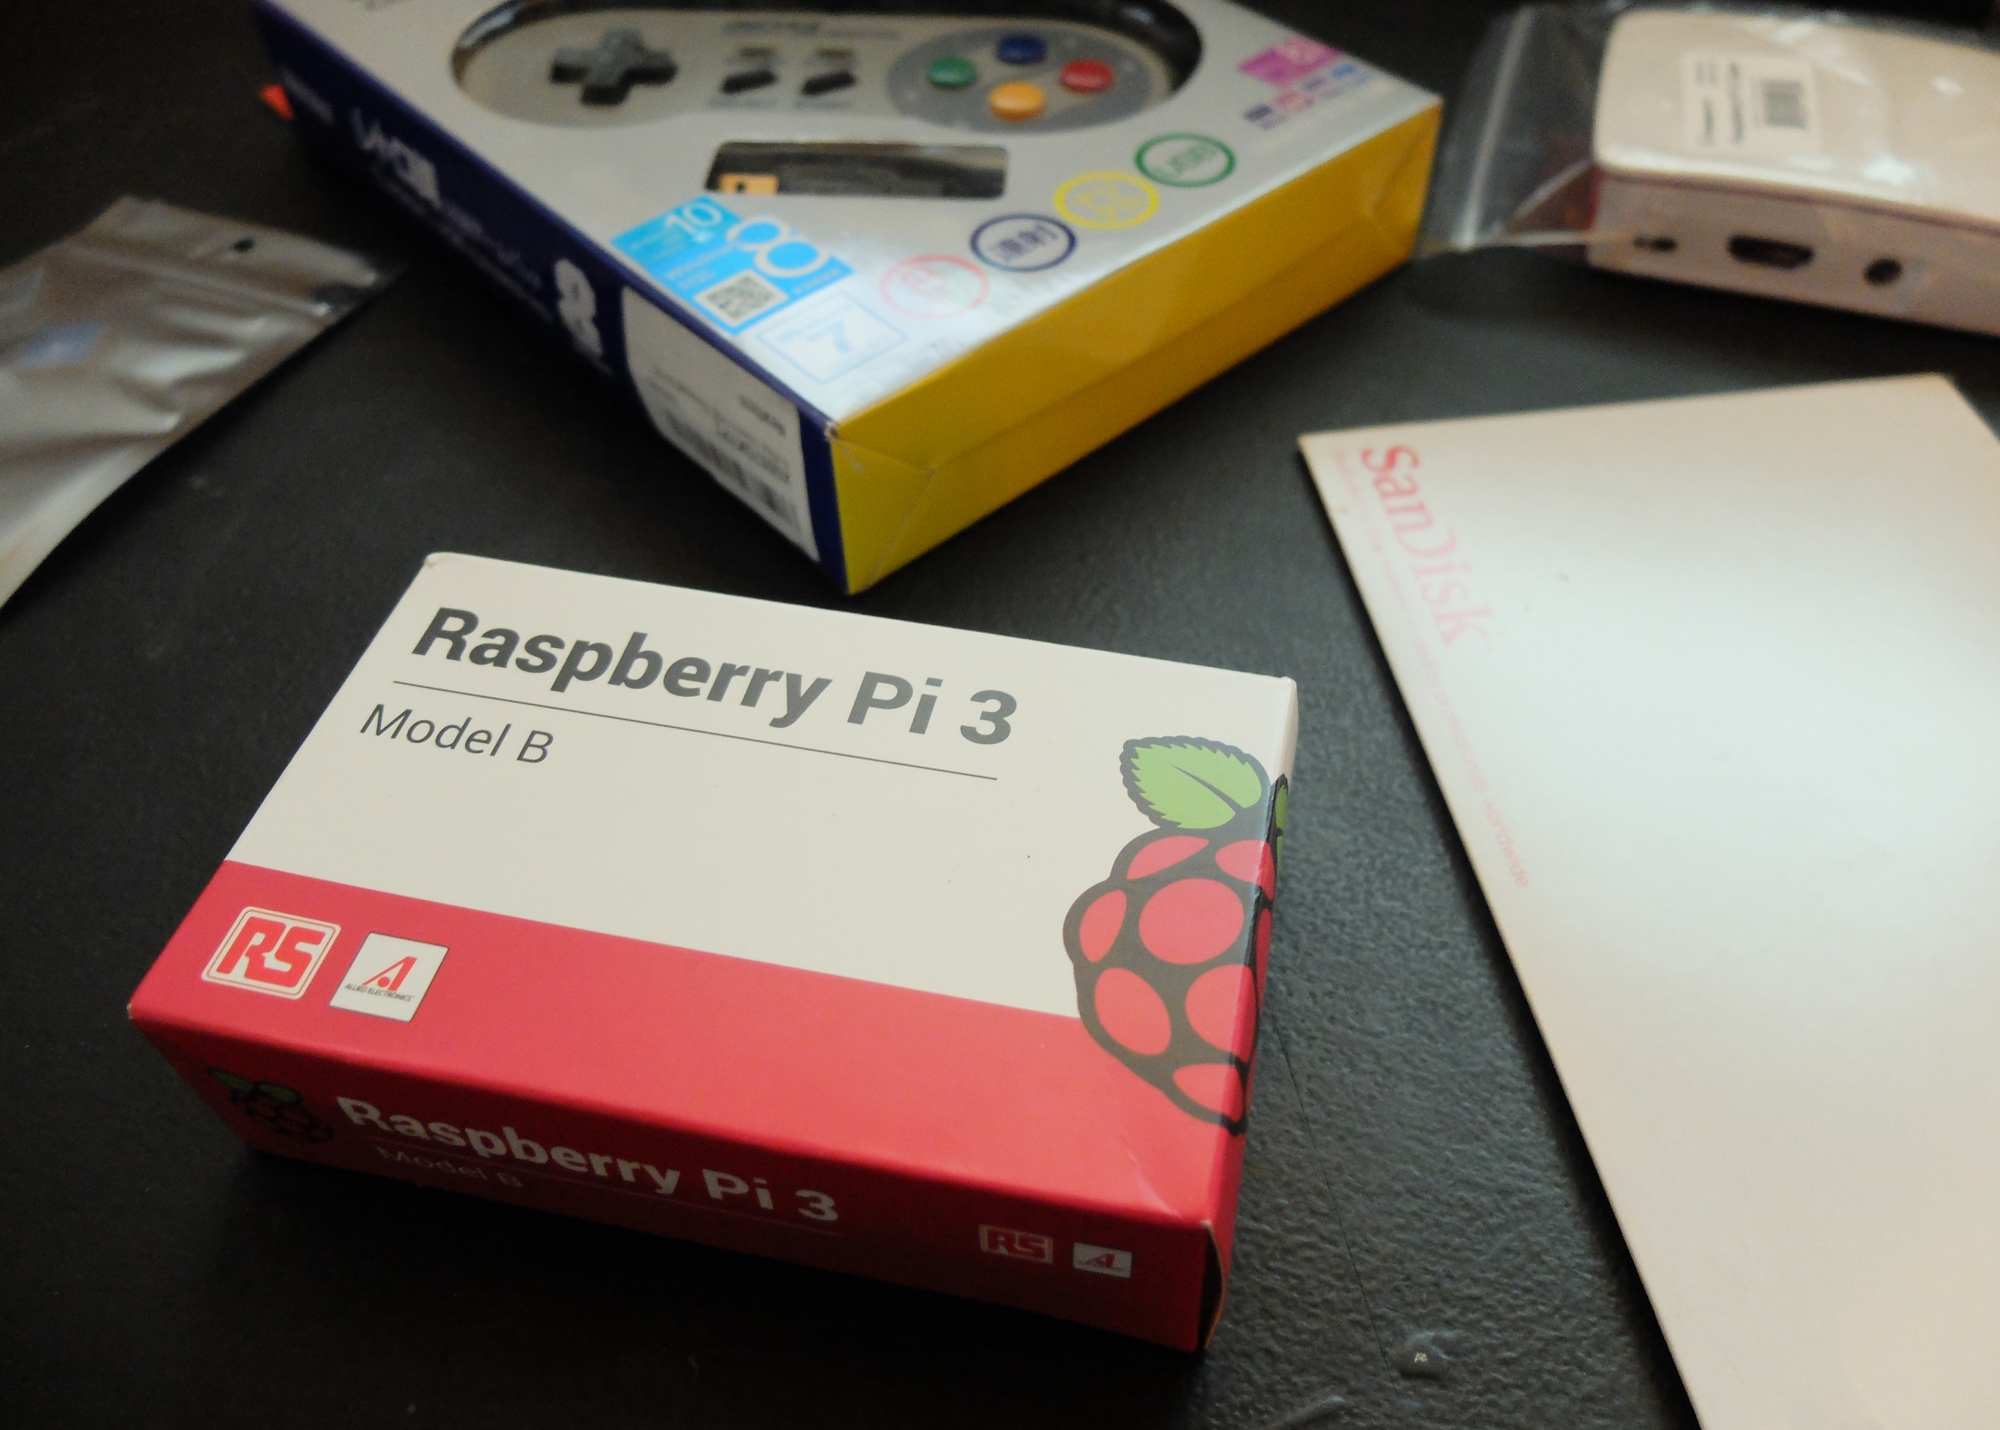
All the bits and pieces needed – it’s not much!
As I basically followed the above guide pretty much verbatim, I’ll link to it again as well as keep a backup copy here. There are obviously other similar guides too – this one has a nice basic glossary at the top so you know what the rest of this article is talking about!
When I bought my Raspberry Pi, I added a heatsink for £1. This isn’t strictly necessary (you can buy a fan too), but I wasn’t sure what I’d use the Pi for in the future, so better safe than sorry. So all I needed to do was stick the heatsink to the processor and pop the Pi into its case:
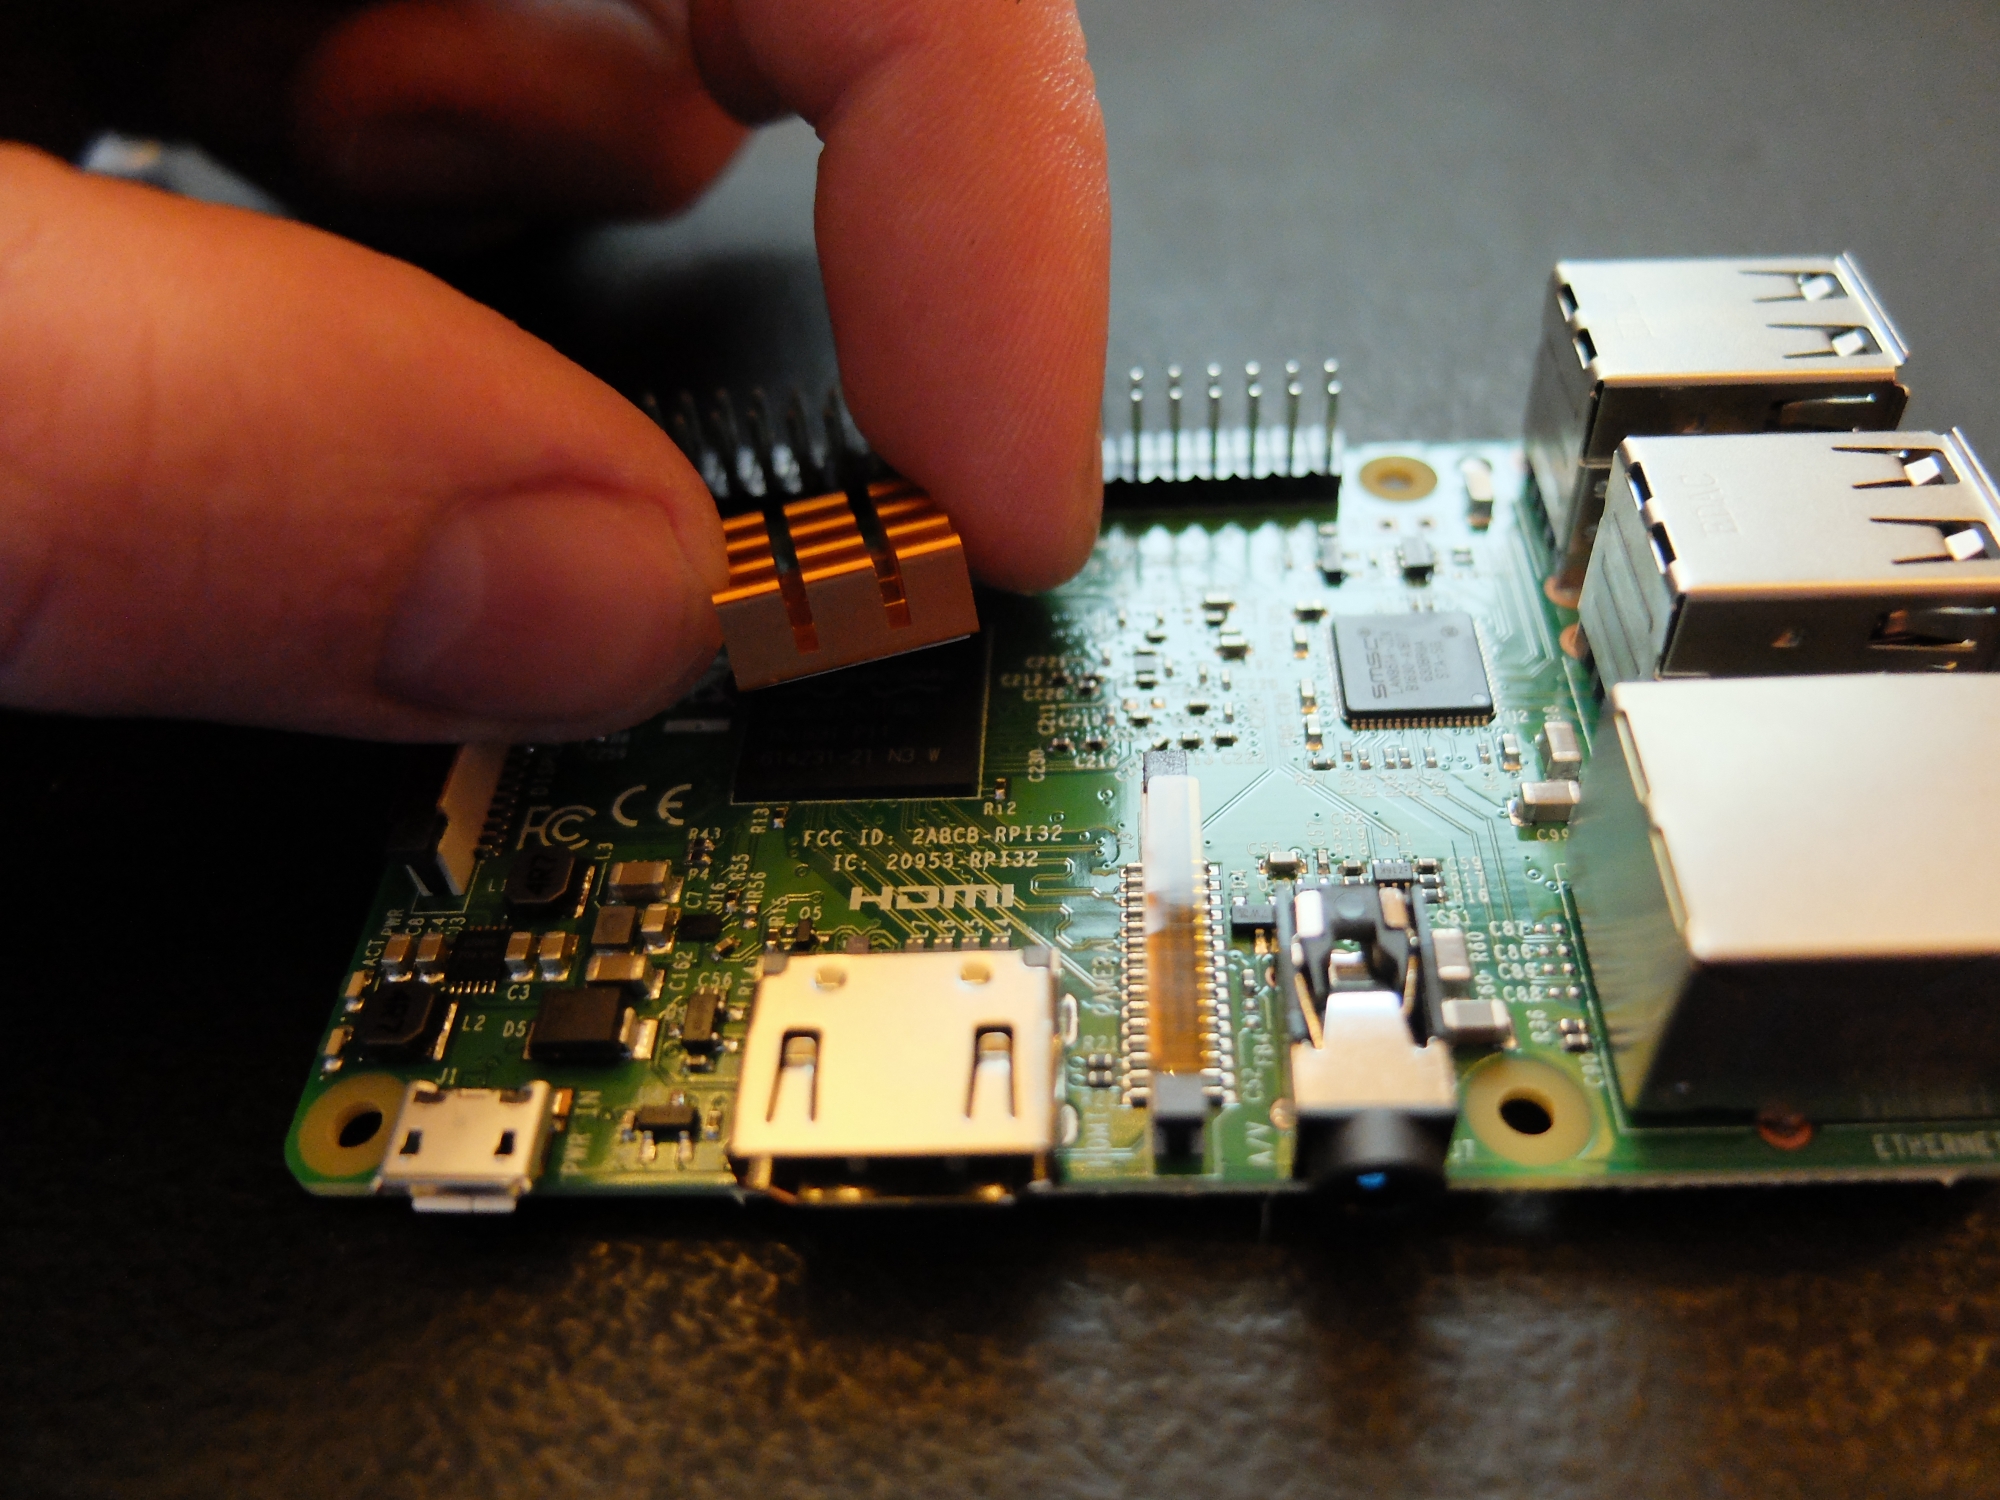
Sticking the heatsink onto the processor..
It clipped in without the need for screws (which didn’t come with either the Pi or case, so good job really!). Then you just assemble the part of the case and clip it down:
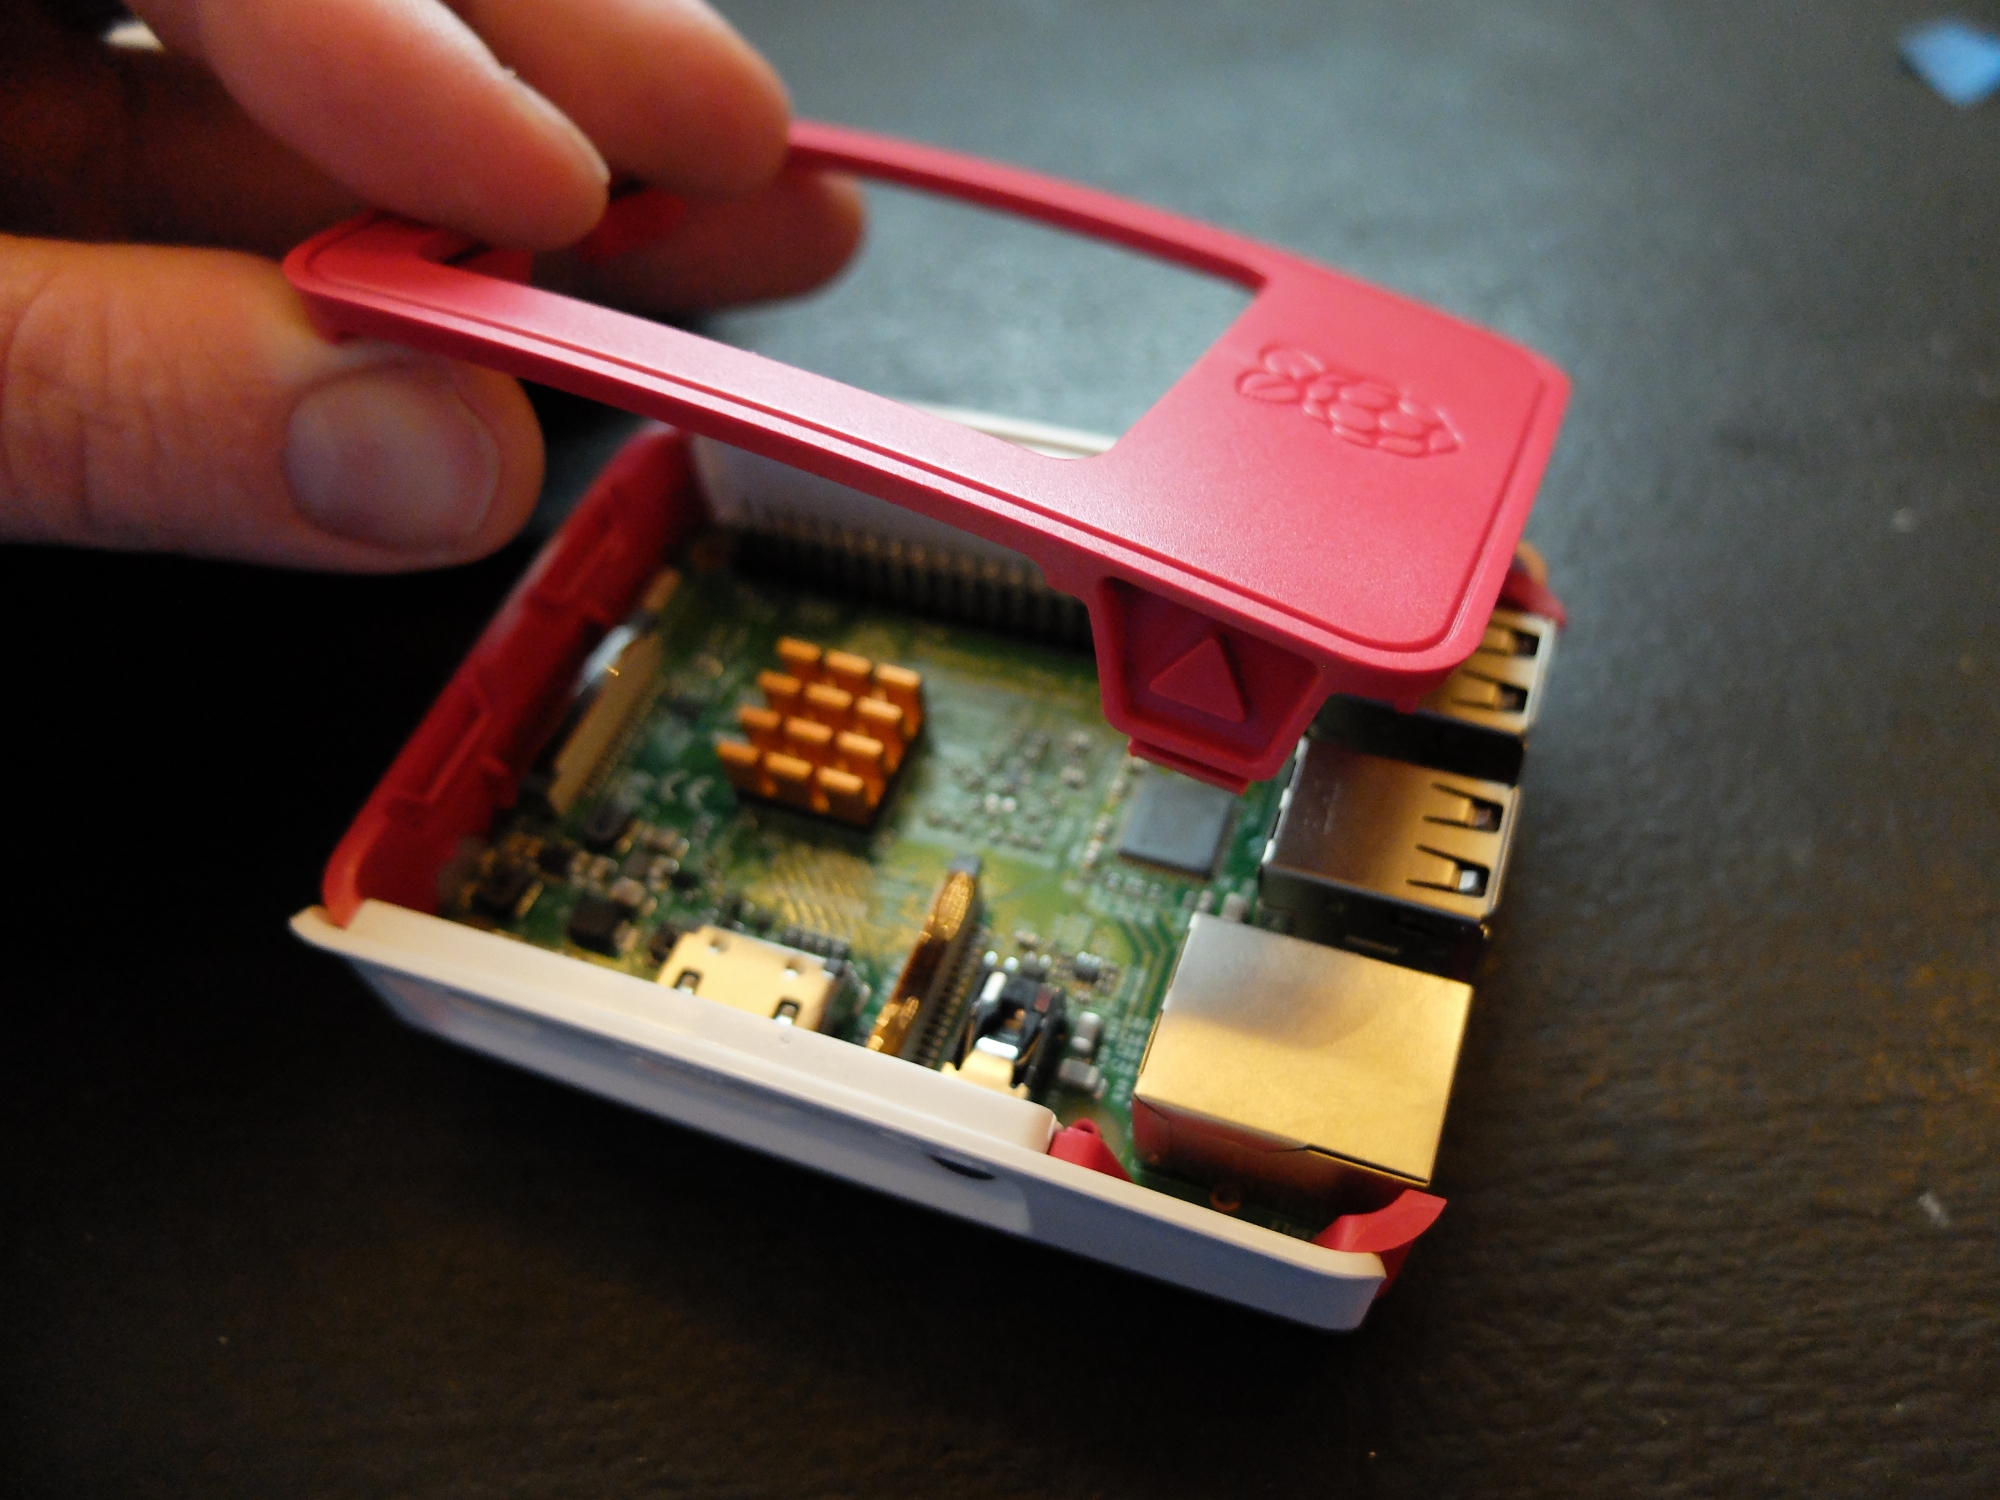
The case just clipped together without screws.
OK, we’re cooking on gas here. 5 mins in and we’ve already got the ‘console’ hardware set up! Now we need to load the Retropie OS onto the Pi itself. This is a potential sticking point as you’ll need to download Retropie from another connected device onto a MicroSD card, which are natively read only by phones really. But thankfully, when I bought my Sandisk MicroSD card, it came with a standard SD card converter, which my PC is happy with:
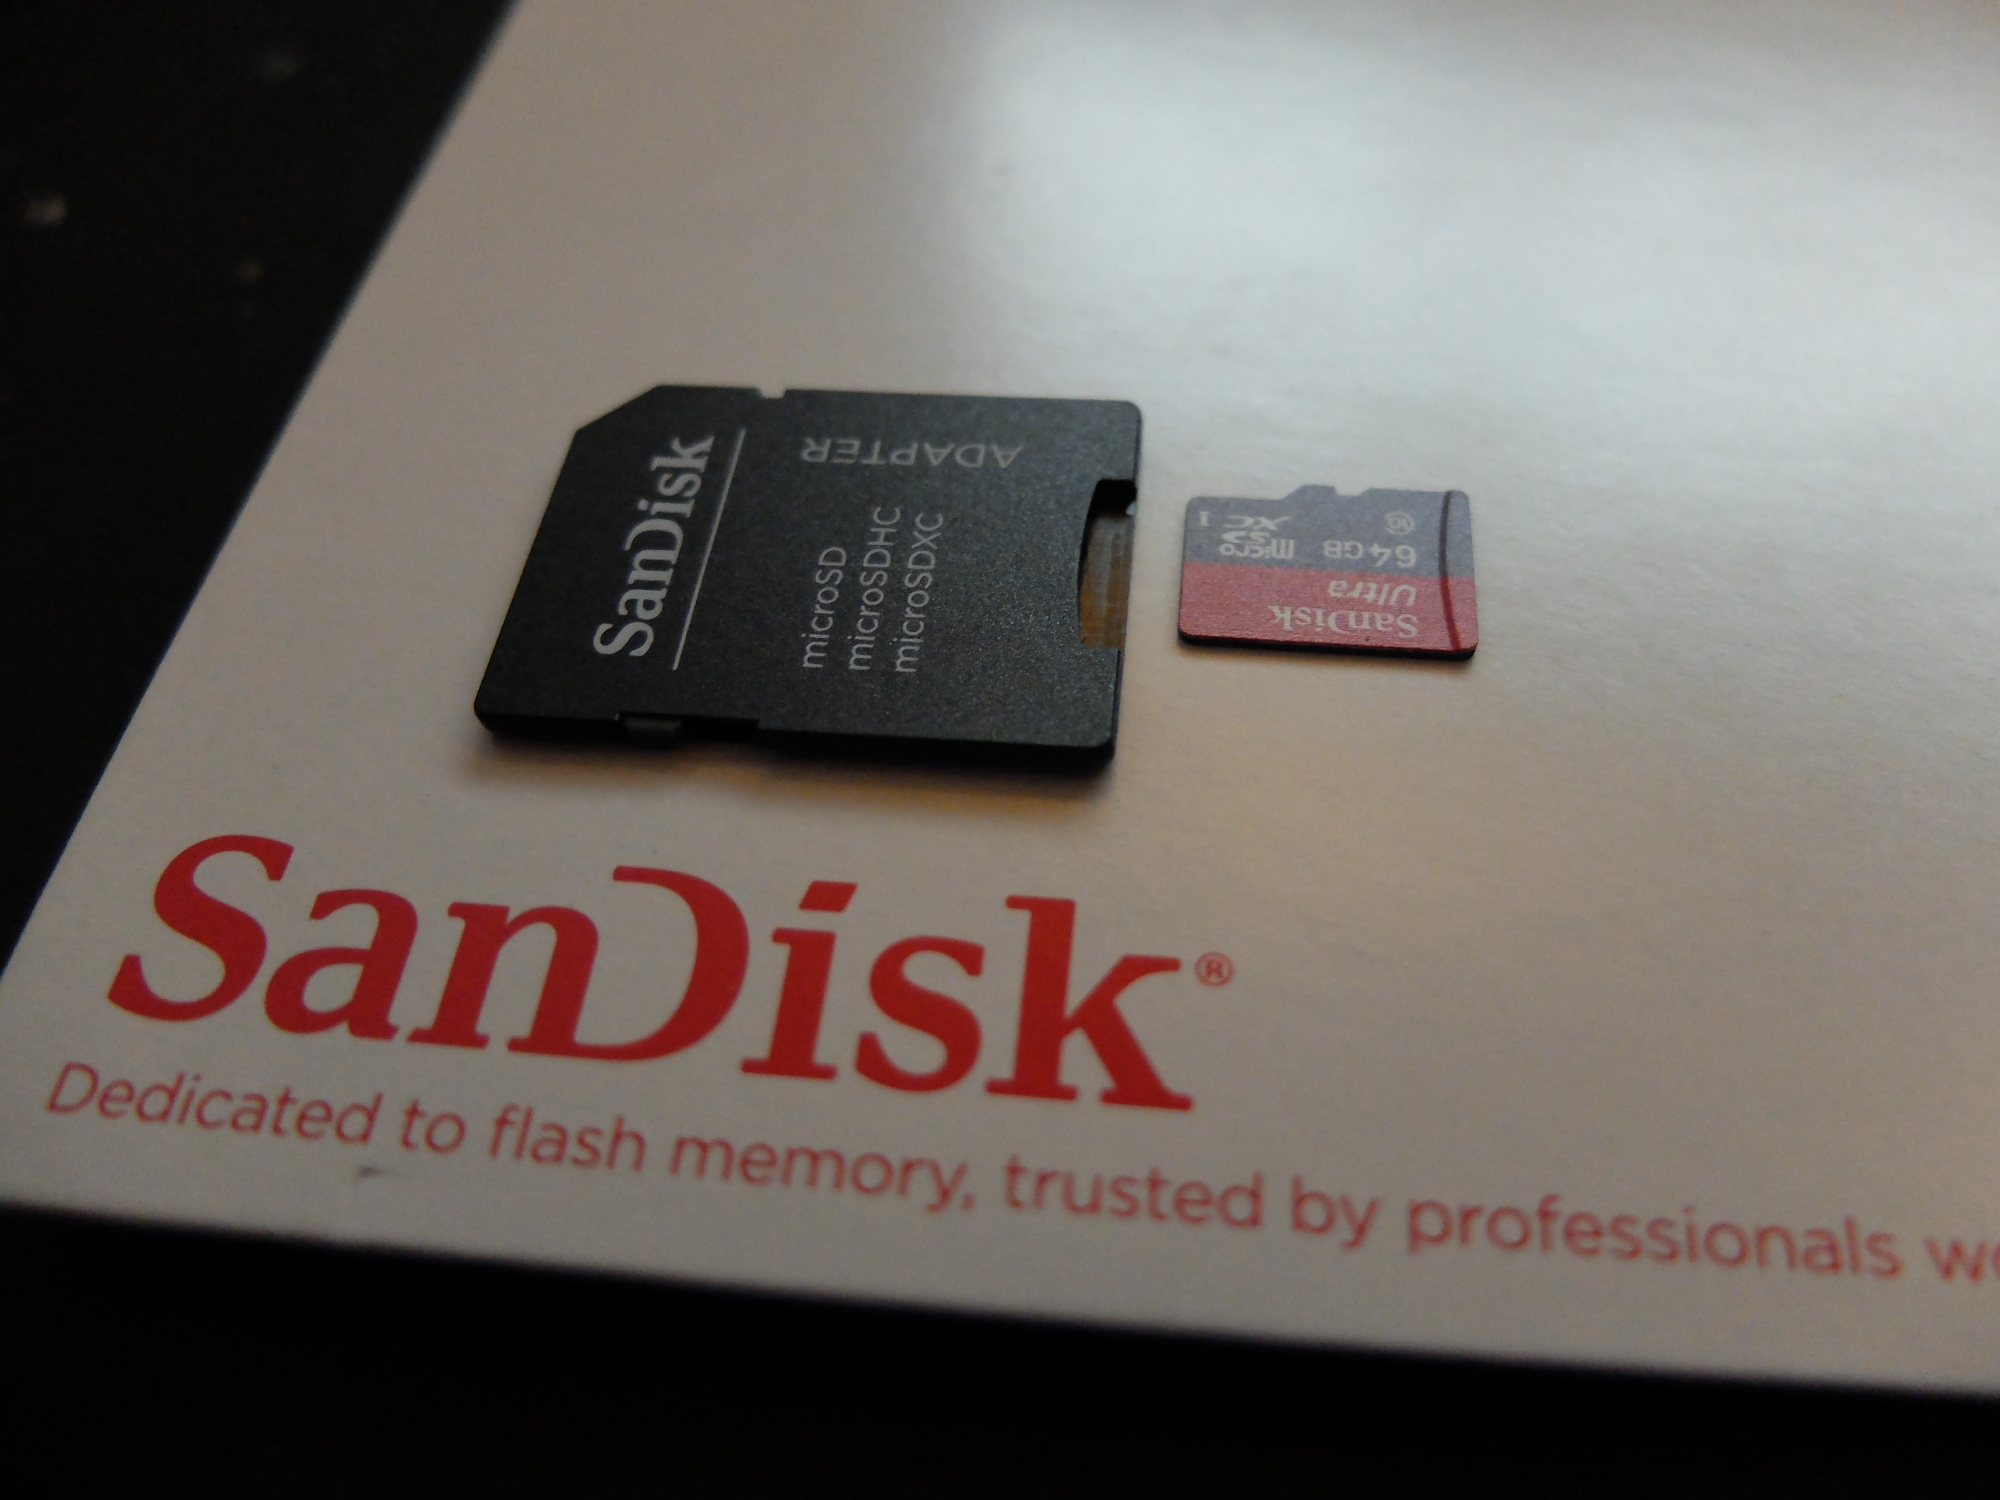
The SD converter for my MicroSD card was very handy.
Now we’ve downloaded and unzipped RetroPie, we have a disk image ready to be written to the MicroSD card. This is done with a simple piece of software called Win32DiskImager (on Windows, at any rate). One thing to note here is that when you install it, you’ll likely get the following error as it auto-runs after the install:
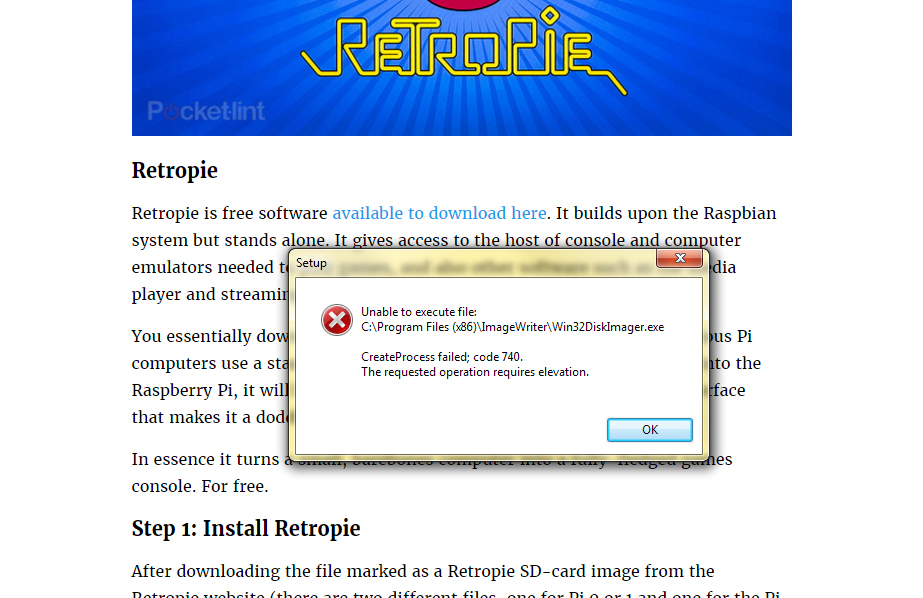
Win32DiskImager – 740 Error
That 740 error is to do with folder permissions, but just close it and re-open the program and everything will work. Phew! Now you can burn the disk image to the MicroSD and we’re ready to install RetroPie:
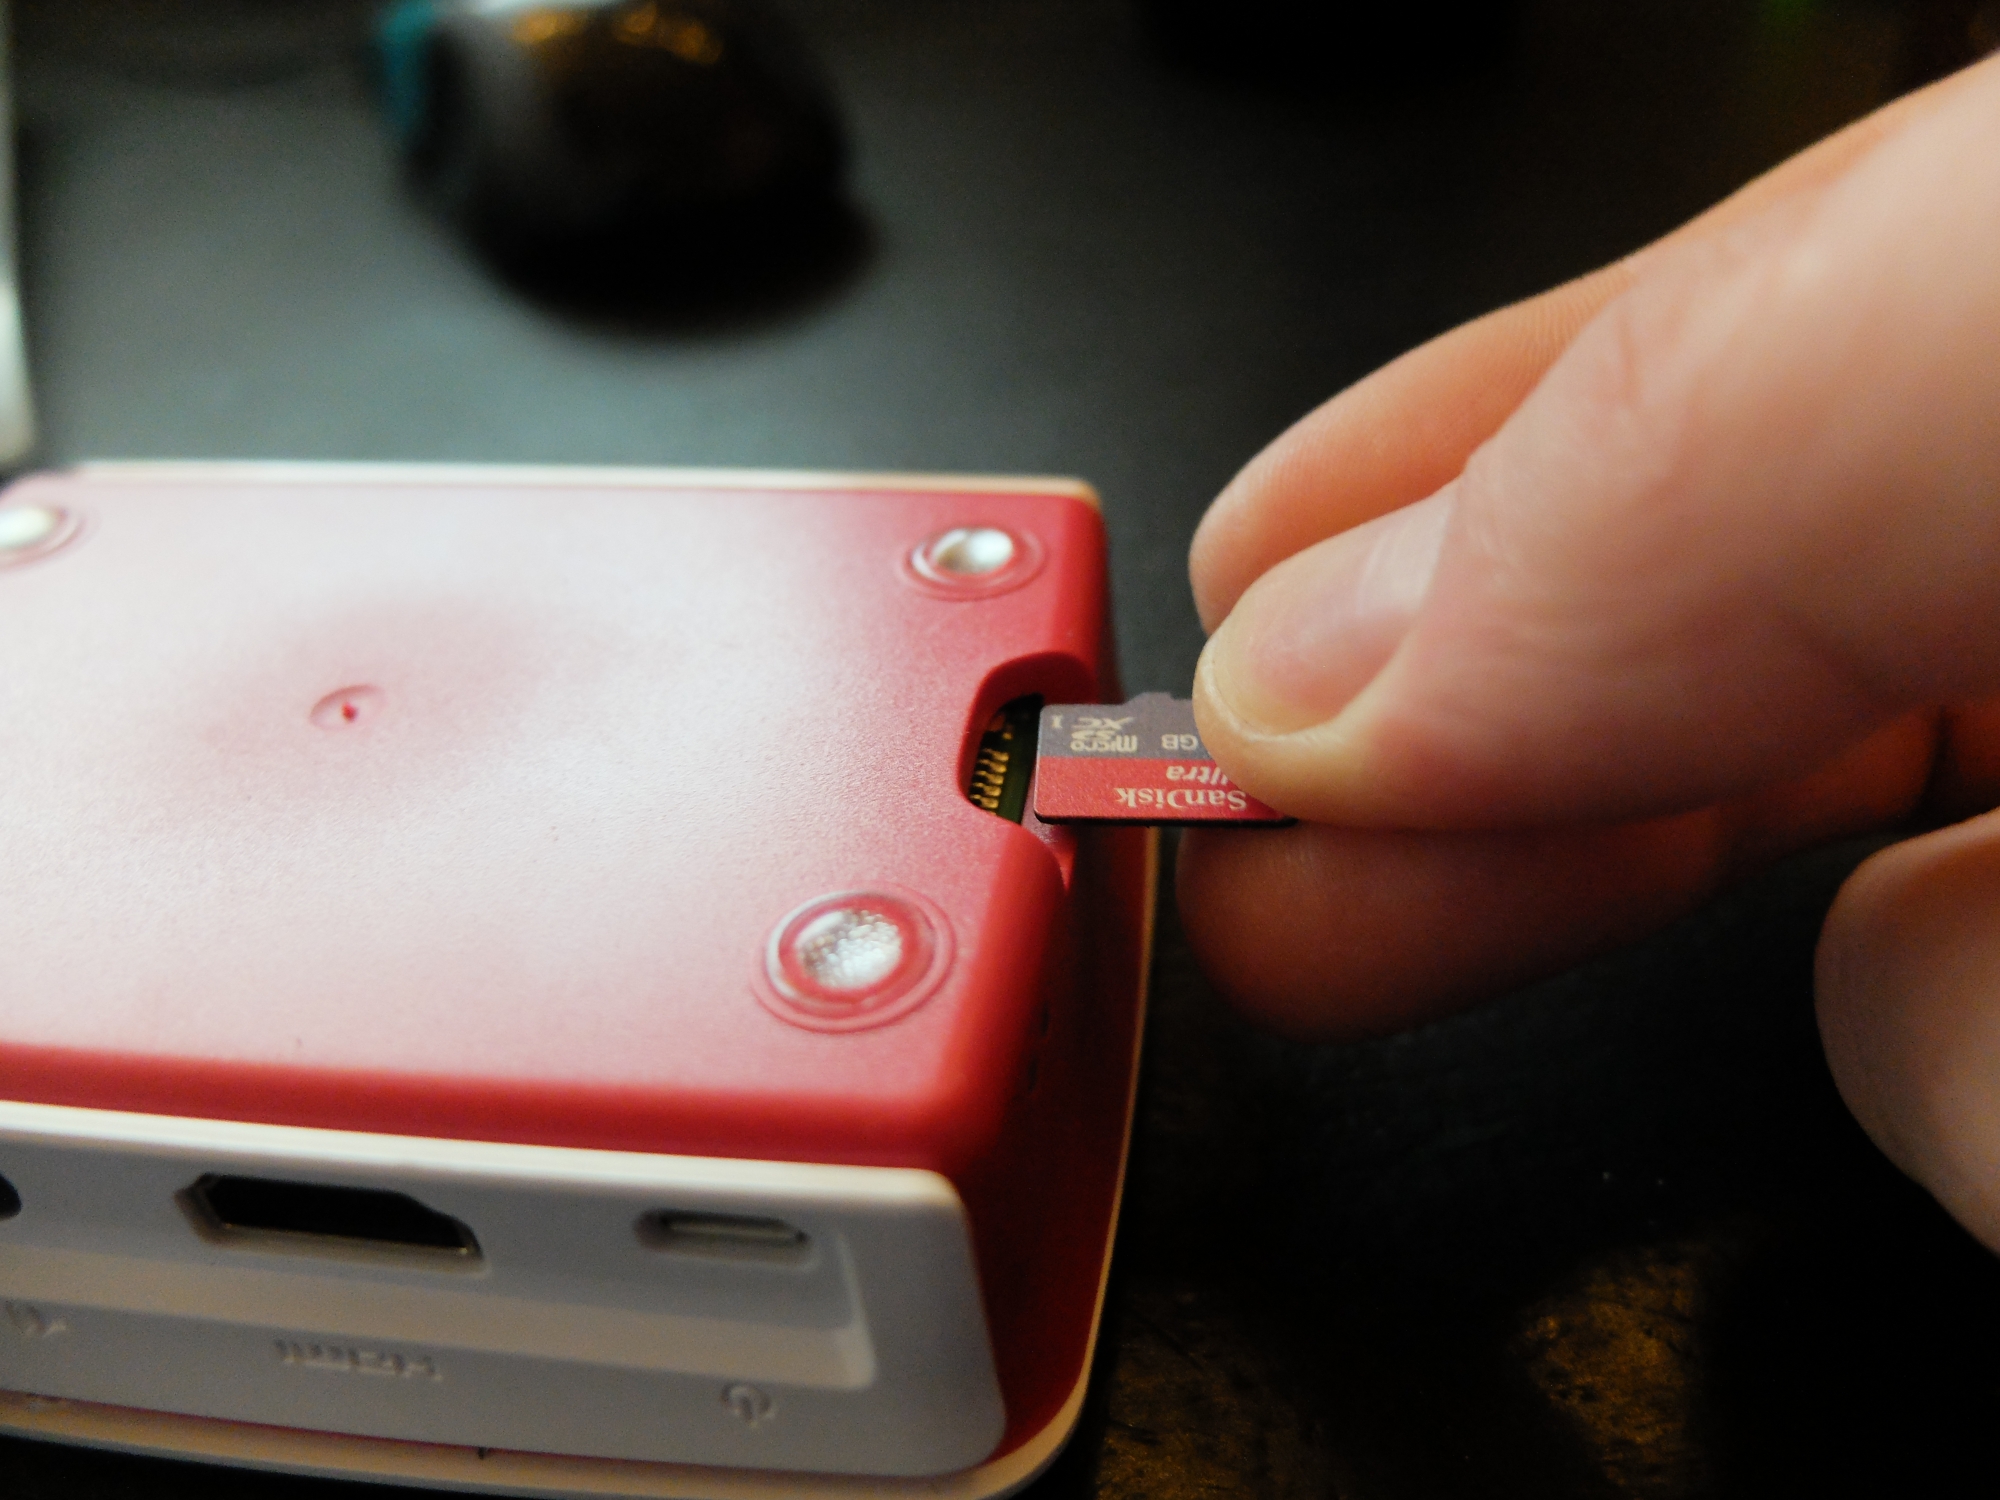
Installing RetroPie was a case of putting the card in and turning on the power..
Just slide the card into the slot and we’re ready to fire up this badboy! Power comes from a MicroUSB cable, which I had plenty of, plugged into the mains. Switch it on (and connect to a HDMI monitor) and you can watch as RetroPie is installed. It doesn’t take long (we’re less than 20 mins into the project here), and you get a nice screen full of success:

The launch screen is always a nice result!
OK, that was easy! Now you’ll see EmulationStation load up and once you plug in your controller, you’ll be asked to map the buttons to it. Then you’ll want to follow the guide to log in to wifi (or just plug in an ethernet cable), as this makes loading ROMs much easier. I ignored the bit about setting up a USB stick and loading ROMs that way, as once you’ve set up wifi your Pi and its contents will be visible over your network. Just go to the roms folder and drop in your favourite games to their console’s folder (I used emuparadise to find games):
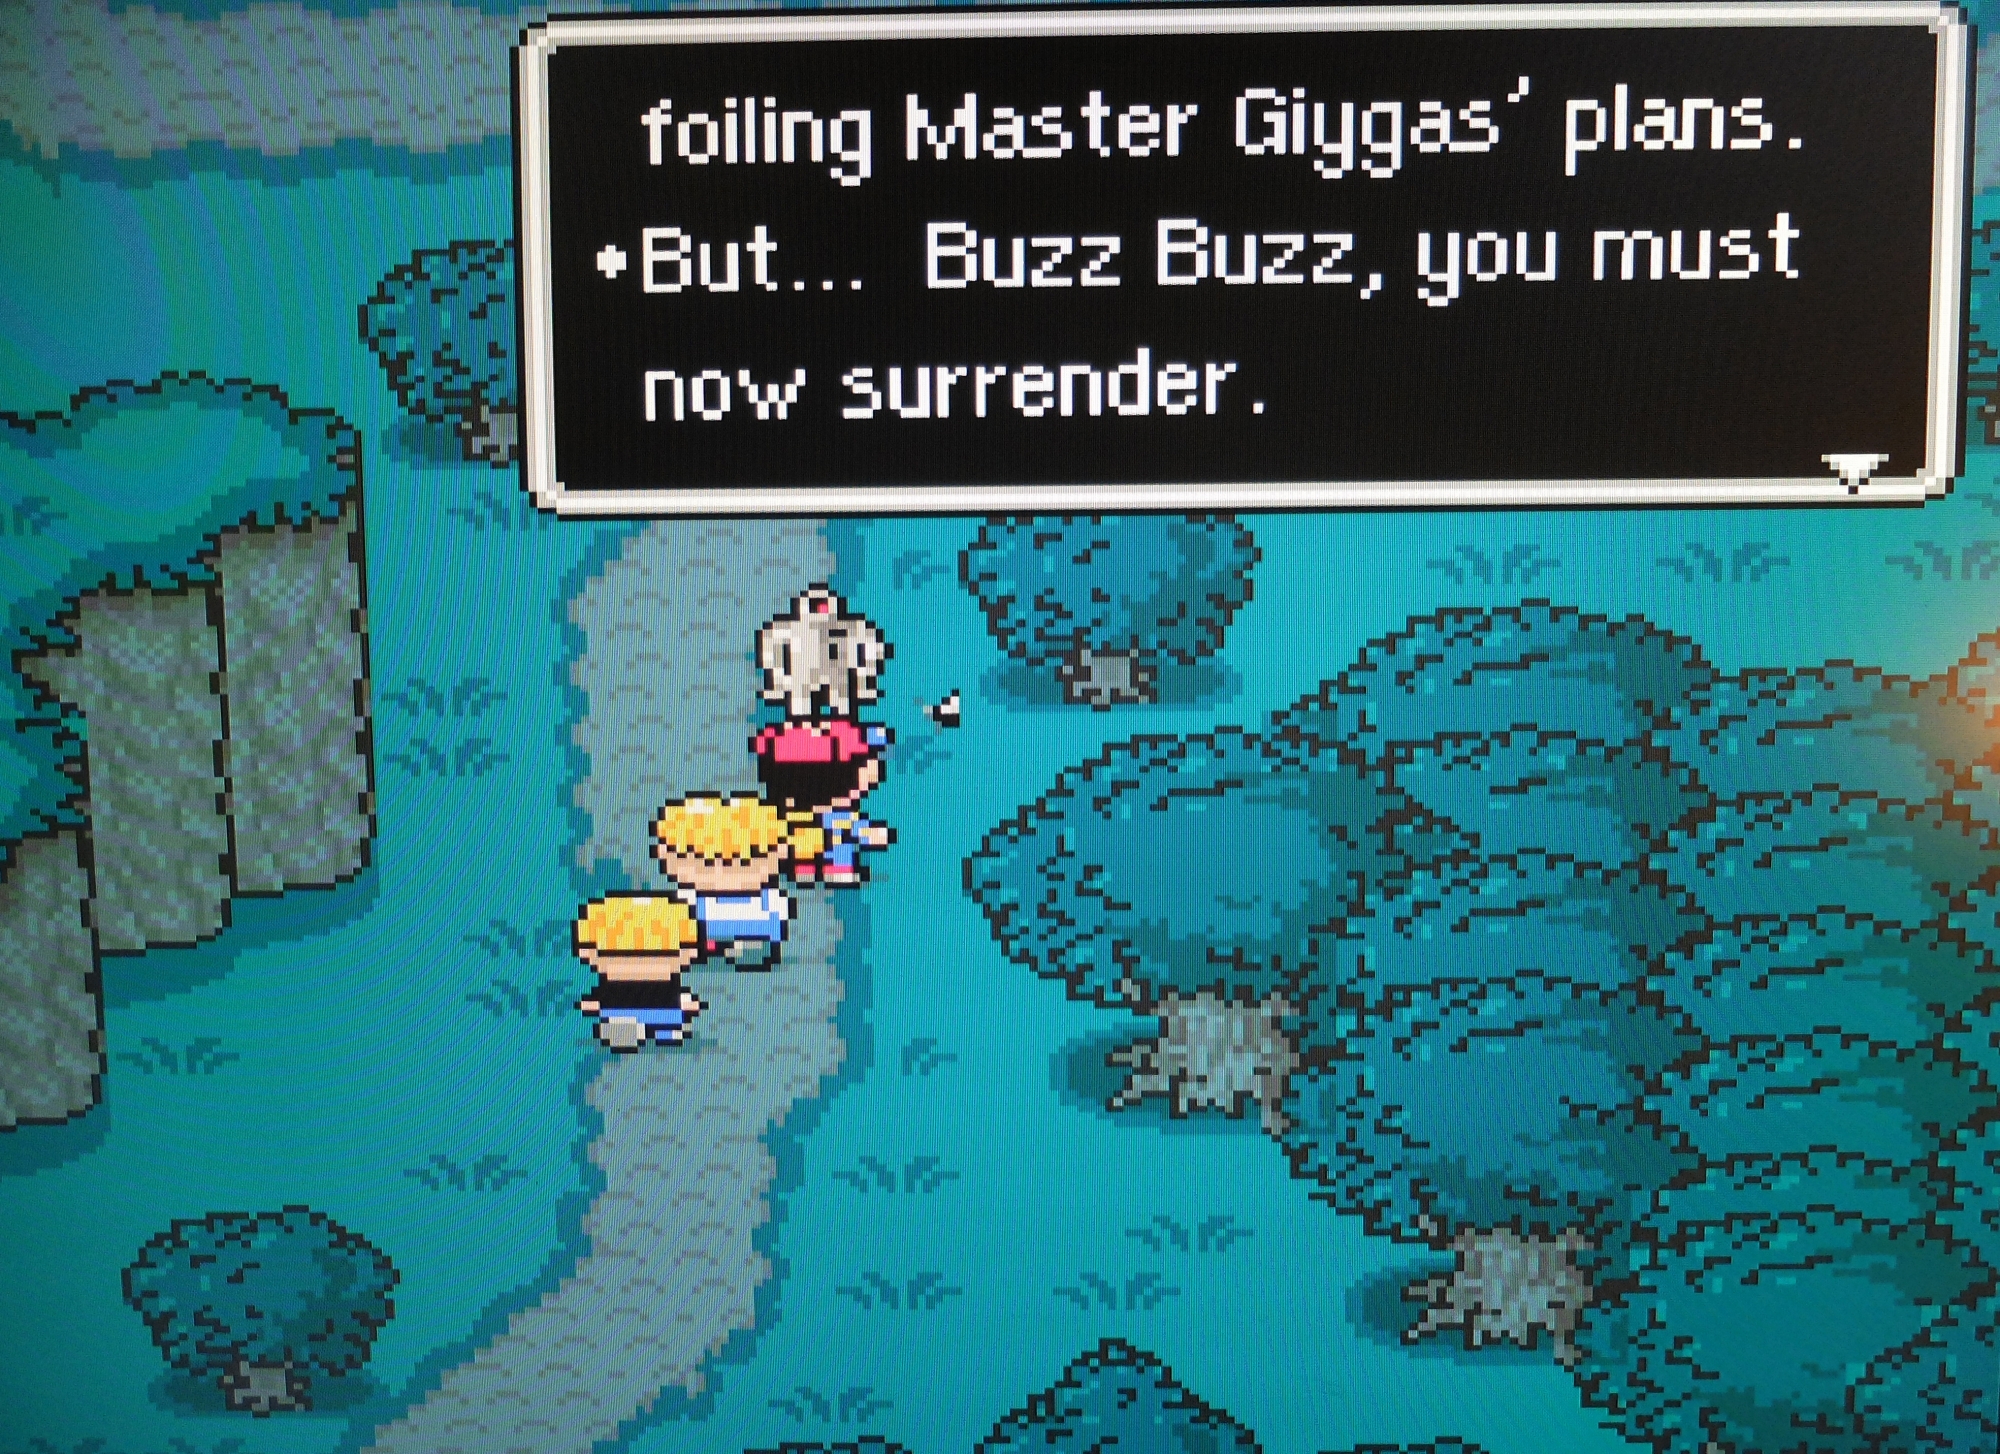
Playing EarthBound on the SNES emulator.
A screenshot from the SNES classic ‘EarthBound‘ there, although I was just as keen to re-play by old MegaDrive favourites – Foot Sac on California Games, anyone?! In total, it was only 30 minutes from starting the project to playing games, which is pretty impressive. But, there are a few little niggles that took a bit longer to work out:
Firstly, I had no idea how to exit a game using the controller and I hadn’t a clue about saving games either. So it was pretty handy when I stumbled across this guide, which gives answers to both those questions and more (just scroll down a bit to find the section pictured below):
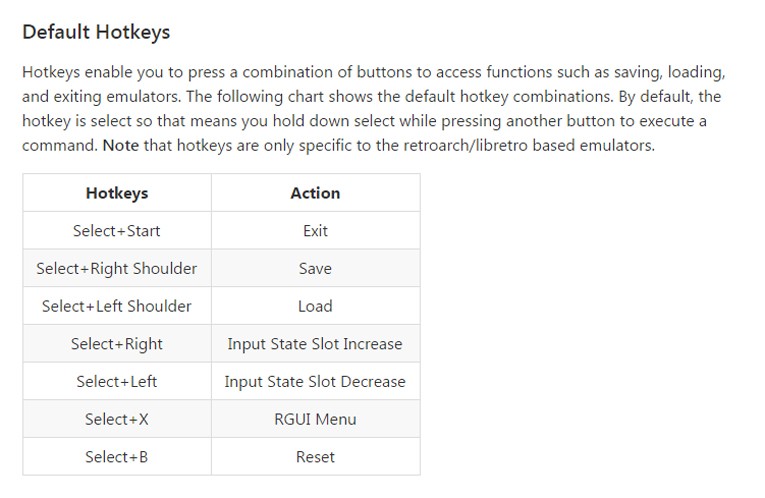
RetroPie – Controller Hotkeys
One thing that’s important to explain here is the difference between saving games and saving states. The hotkeys above will save a snapshot of each game without using the in-game saving features some games have. So when I was playing Sonic & Knuckles for example, the ‘save slots‘ were blank, but I had a saved state to load using the hotkeys. This is fine – in fact, I couldn’t find out a way to save using the in-game system, despite trying.
The slight niggle with the save state system, is that save (select+right shoulder) and load (select+left shoulder) are easily confusable. Loading your initial state after making lots of progress is very frustrating indeed! But you can configure RetroArch to automatically save states on exit, or load states on start, or both. Let’s see how to do that, then I’ll tell you why it’s a bad idea.
You can edit all sorts of settings via the RetroArch configuration editor, but it’s a bit of a fiddle and you need a keyboard. The better approach is to load the RetroPie menu and go to RetroArch, then settings, then saving, and you get the following screen:
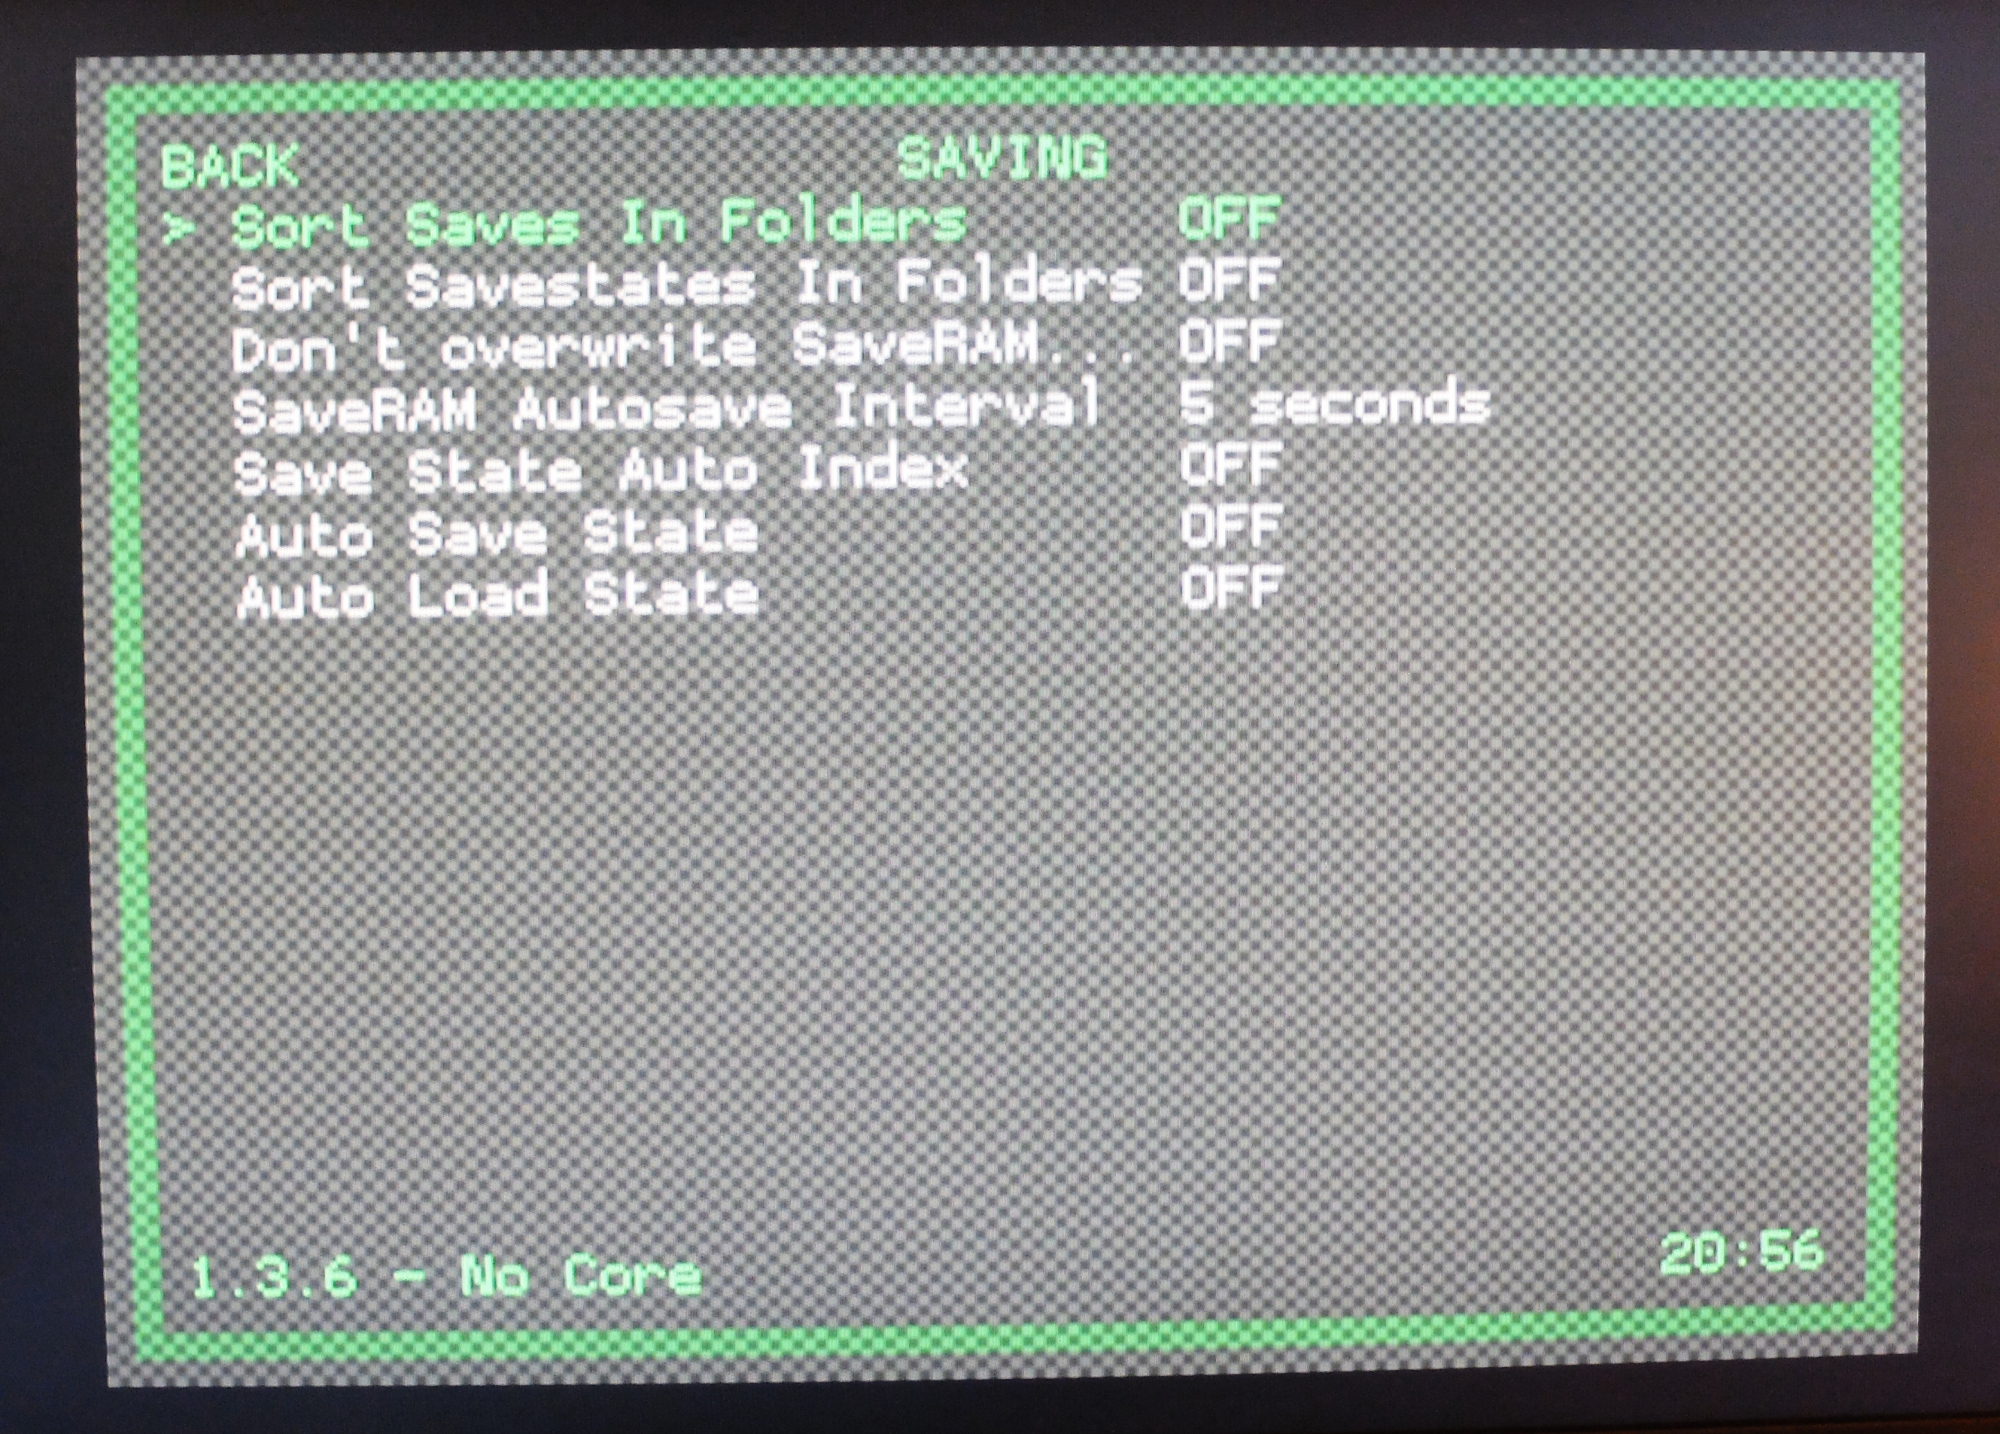
RetroArch Settings
The SaveRam Autosave Interval is to do with the in-game save feature, but this had no effect for me so I gave up with it (set it to 0). The last two options are related to the save state feature, which is what we want. However, I found having these on was a bit buggy and didn’t always work how I expected, so I eventually turned them off again and just tried to remember that select+left shoulder = load. L=L. NB if you make changes to the RetroArch settings, they won’t save unless you go to the Configuration menu and set the current set up to save – you’ll see confimation in the form of text in the bottom left of your screen.
And finally, one minor niggle is I really wanted to play Unsensible Soccer (see below) on the Atari ST, but it seems that launching Atari games is currently a difficult thing to do.
Still, one day…
Hi, I have some advertising proposals for you and if you are interested pls email me so we can discuss it.