At the start of lockdown, I picked up a Sony PS-HX500 turntable at a decent price. I thought it would be a fun lockdown project to record some of my LPs to digital formats and at the same time upgrade my system from a retro one to a higher fidelity one. If I were going purely for sound quality, I might’ve aimed for something like a Rega Planar 1, but I liked the Sony’s mix of features and looks. I could also pair it with a newly-acquired Creek 4040 S3 amplifier, bypassing the in-built phone stage / preamp of the PS-HX500, an oft-mentioned weak point.
Potential Upgrades
After a couple of years of use, I couldn’t help feel the sound could be improved. After researching it the main area of improvement would be replacing the cartridge: “that original cartridge is the Audio-Technica AT3600L, which can be found for as little as $11 on eBay shipped directly from China“. That thread runs through some other potential upgrades (with more here), but the cartridge remains the most agreed-upon – it also has the benefit of being an upgrade that can be carried over to any future turntables.
Which Cartridge?
I found this guide from Dougie Boom really useful – it not only breaks down the necessary steps in performing the upgrade, but details some potential cartridge options and why they would or wouldn’t be suitable. In the end, I settled on the Goldring 1006:
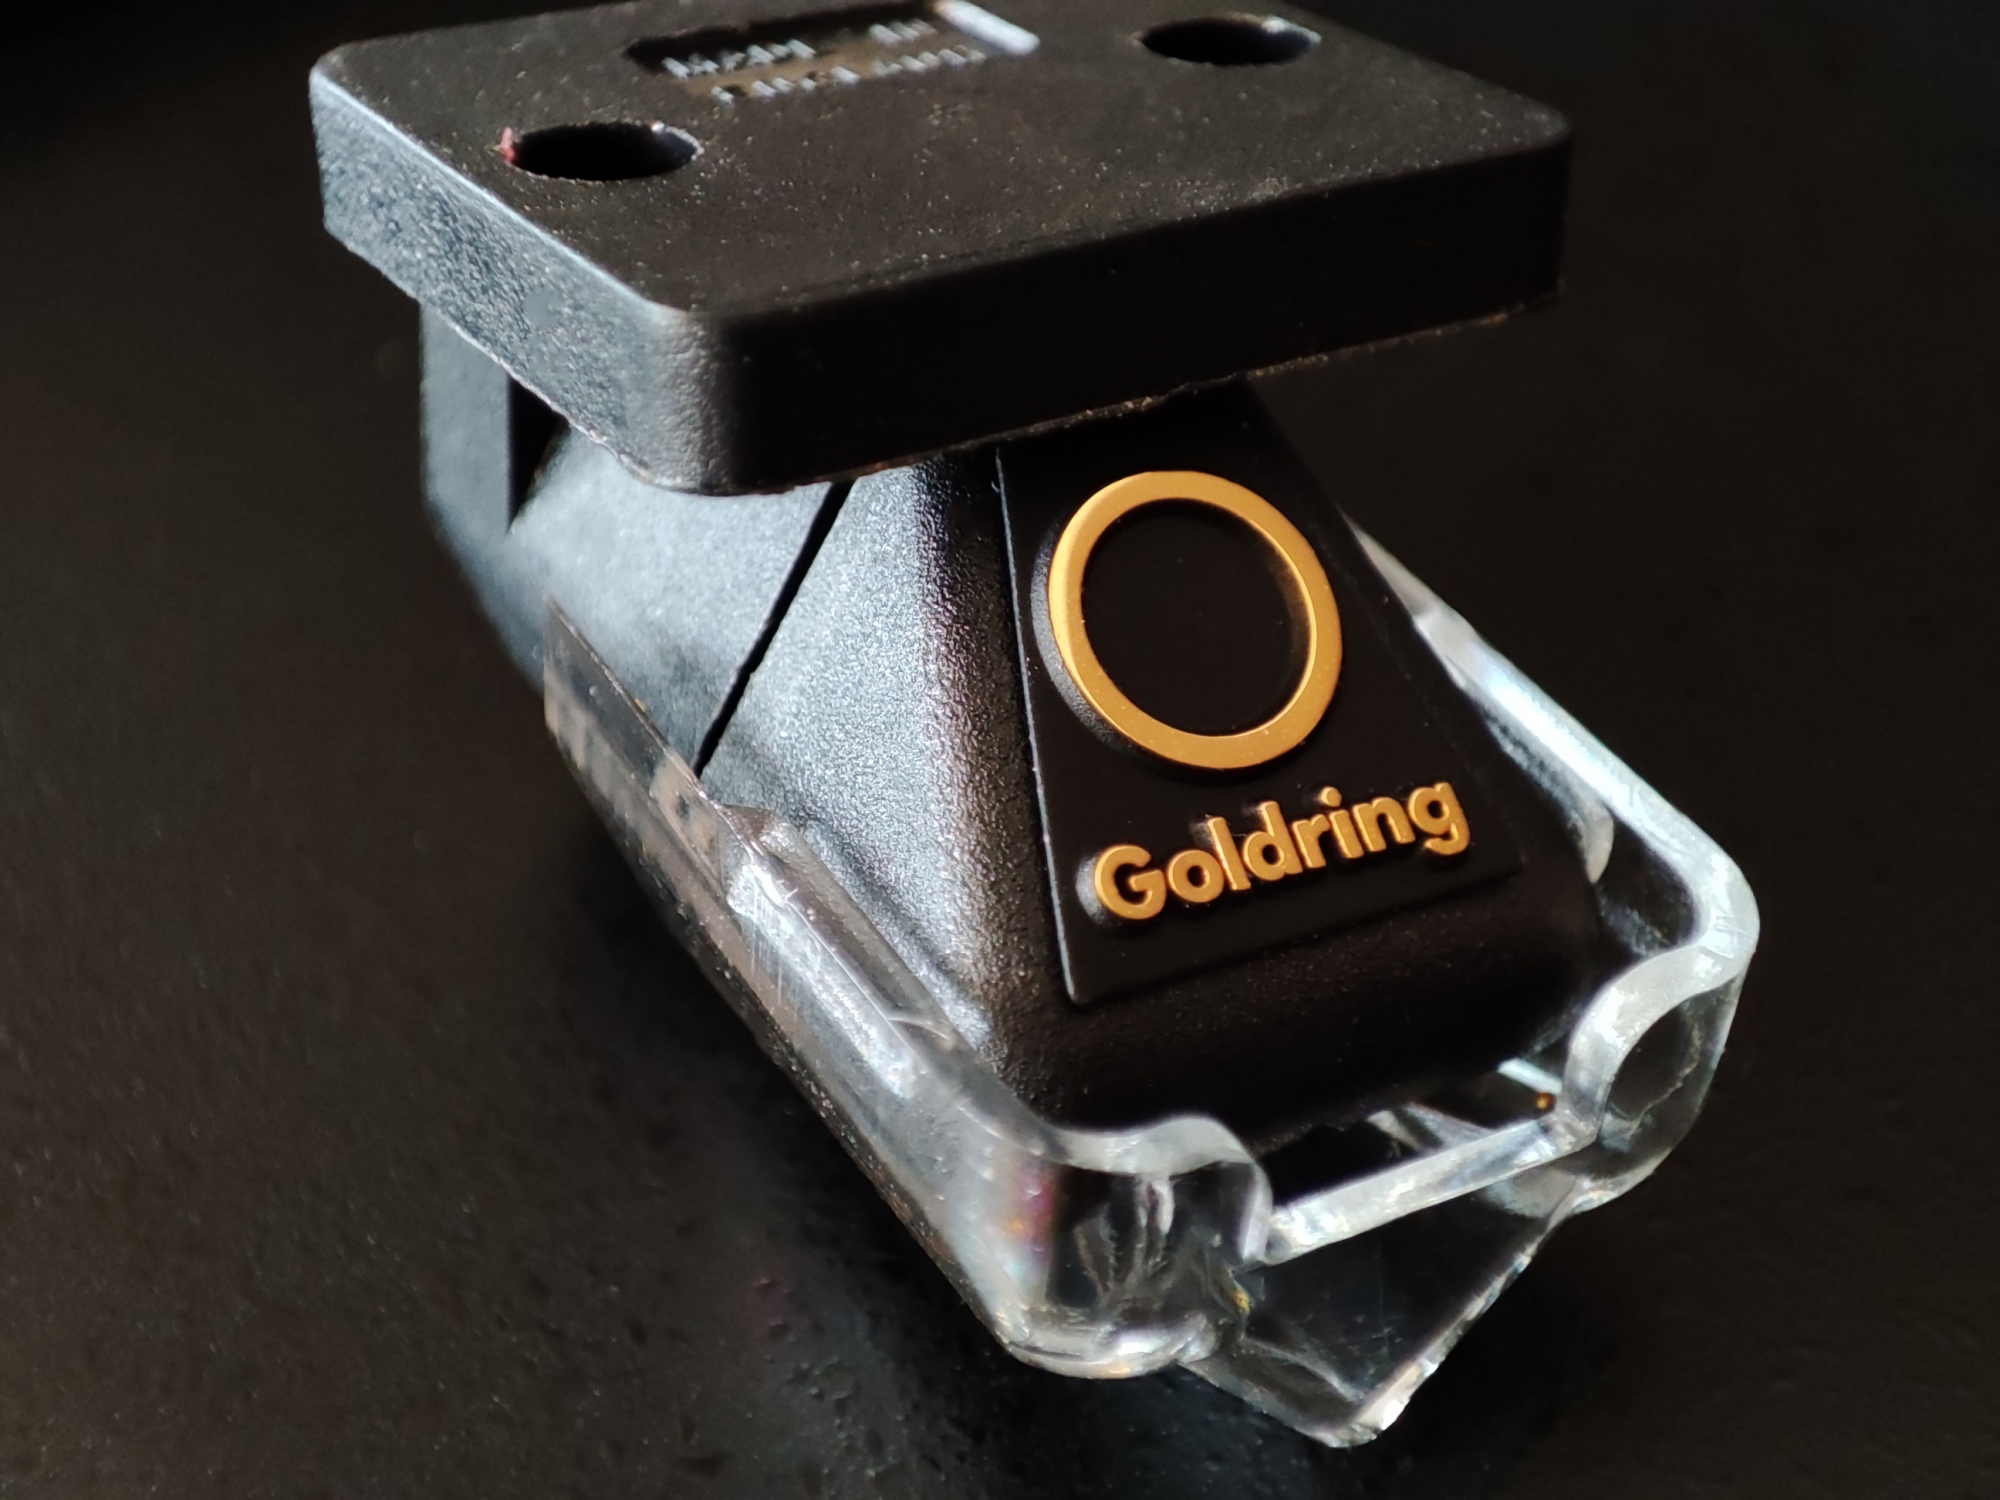
My chosen cartridge upgrade – the Goldring 1006
This seemed the best option for me, for the following reasons:
- I could buy it locally at a good price
- I really liked how it looks
- It suited the style of the PS-HX500
- It reviews very well and should last
The only thing to note was that both the turntable and cartridge were renowned for being fiddly when it comes to the fitting. But with “patience and dexterity“, the job could be done.
Cartridge Replacement
Out with the old, in with the new…
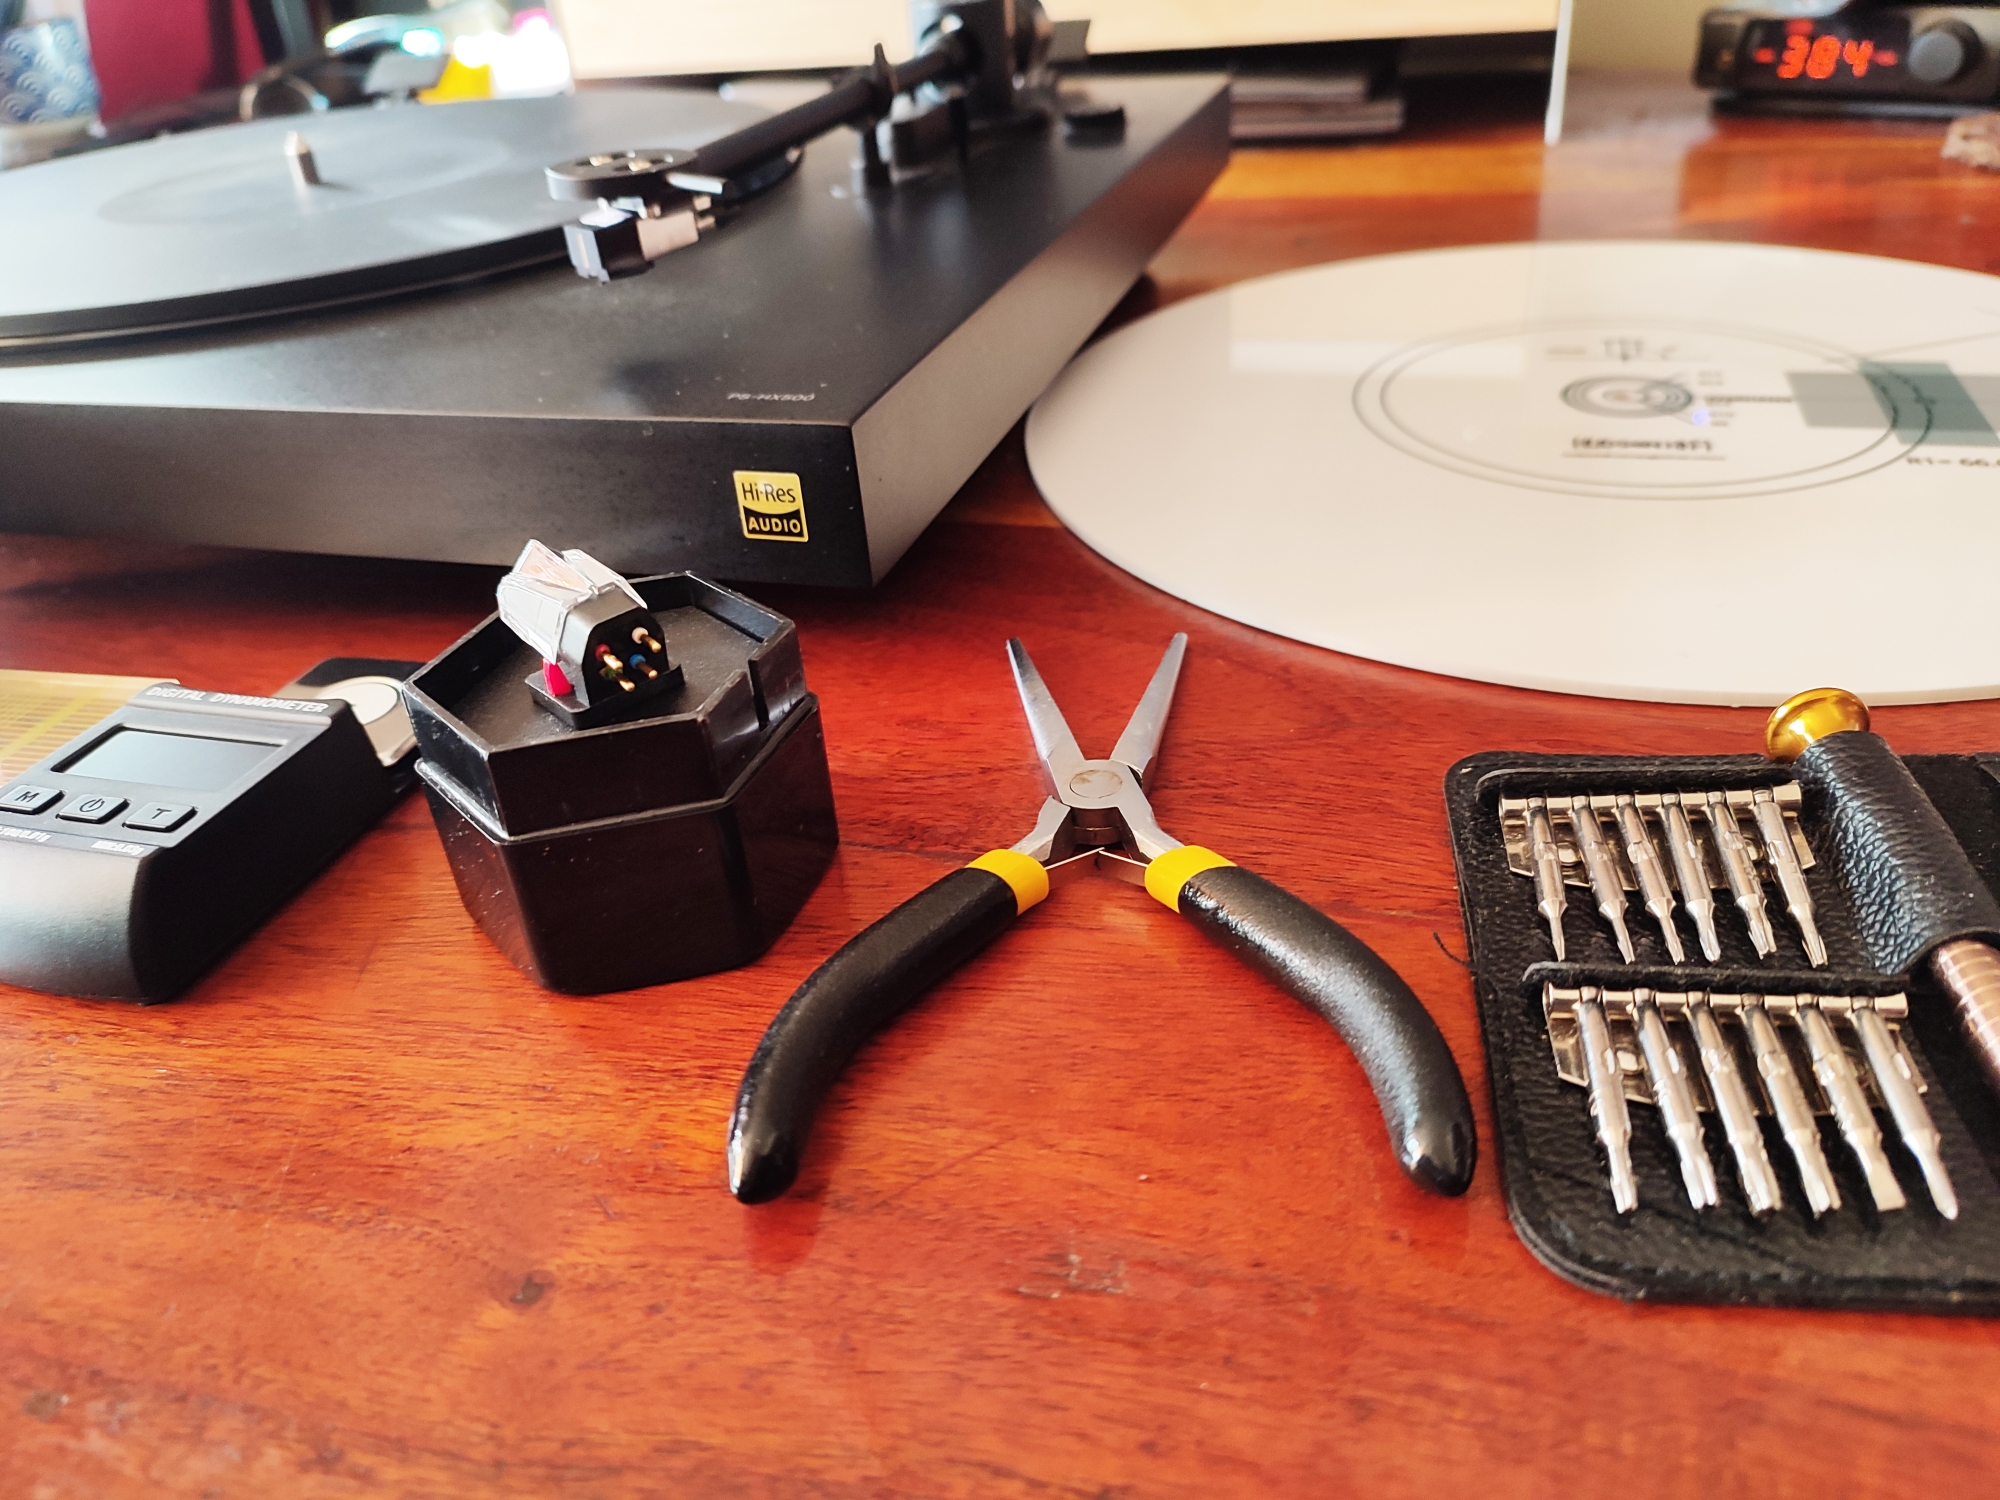
To install the new cartridge, I followed Dougie’s detailed tutorial, but I’ve summarised the key steps below:
- Clamp down the turntable arm so it doesn’t move during installation
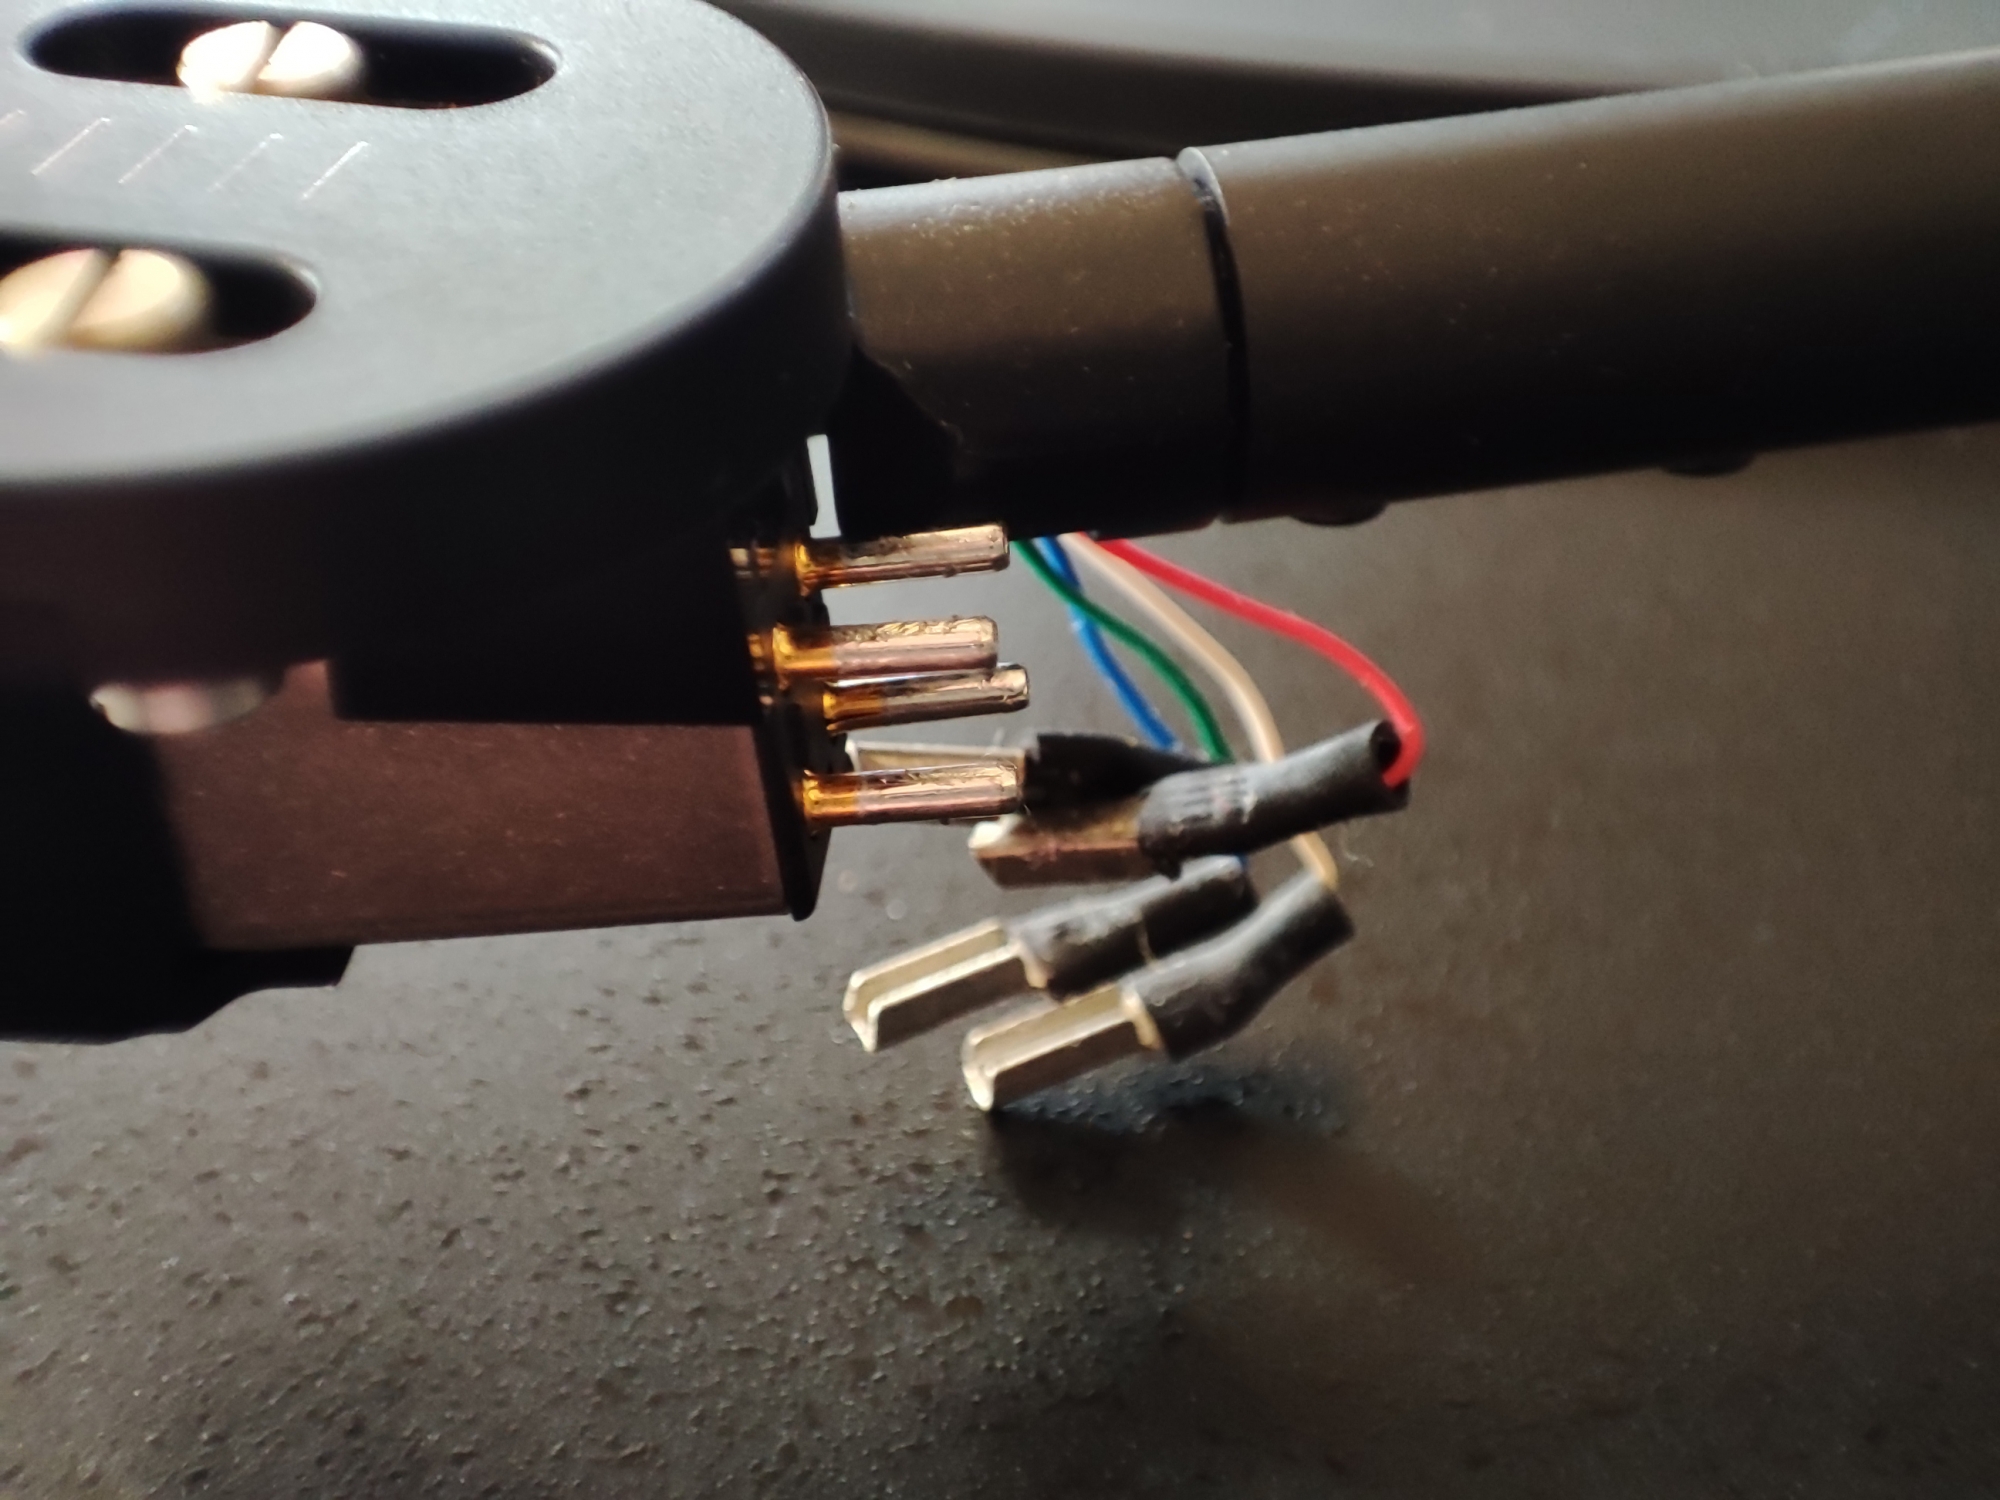
- Remove the wires from old cartridge first, grabbing only the metal part with angled needle nose pliers
- Detach the old cartridge by unscrewing the screws on top of the headshell, saving all the screws and washers
- Attach the new cartridge to the headshell with the screws, then attach the wires to their perspective colours
A couple of additional notes: firstly, the connectors on the stock cartridge aren’t colour coded, but the wires are. My replacement cartridge had colour coded connectors so it was pretty obvious to do – if your new cartridge doesn’t, make sure you check the manual rather than fitting them in the same places as with the stock setup.
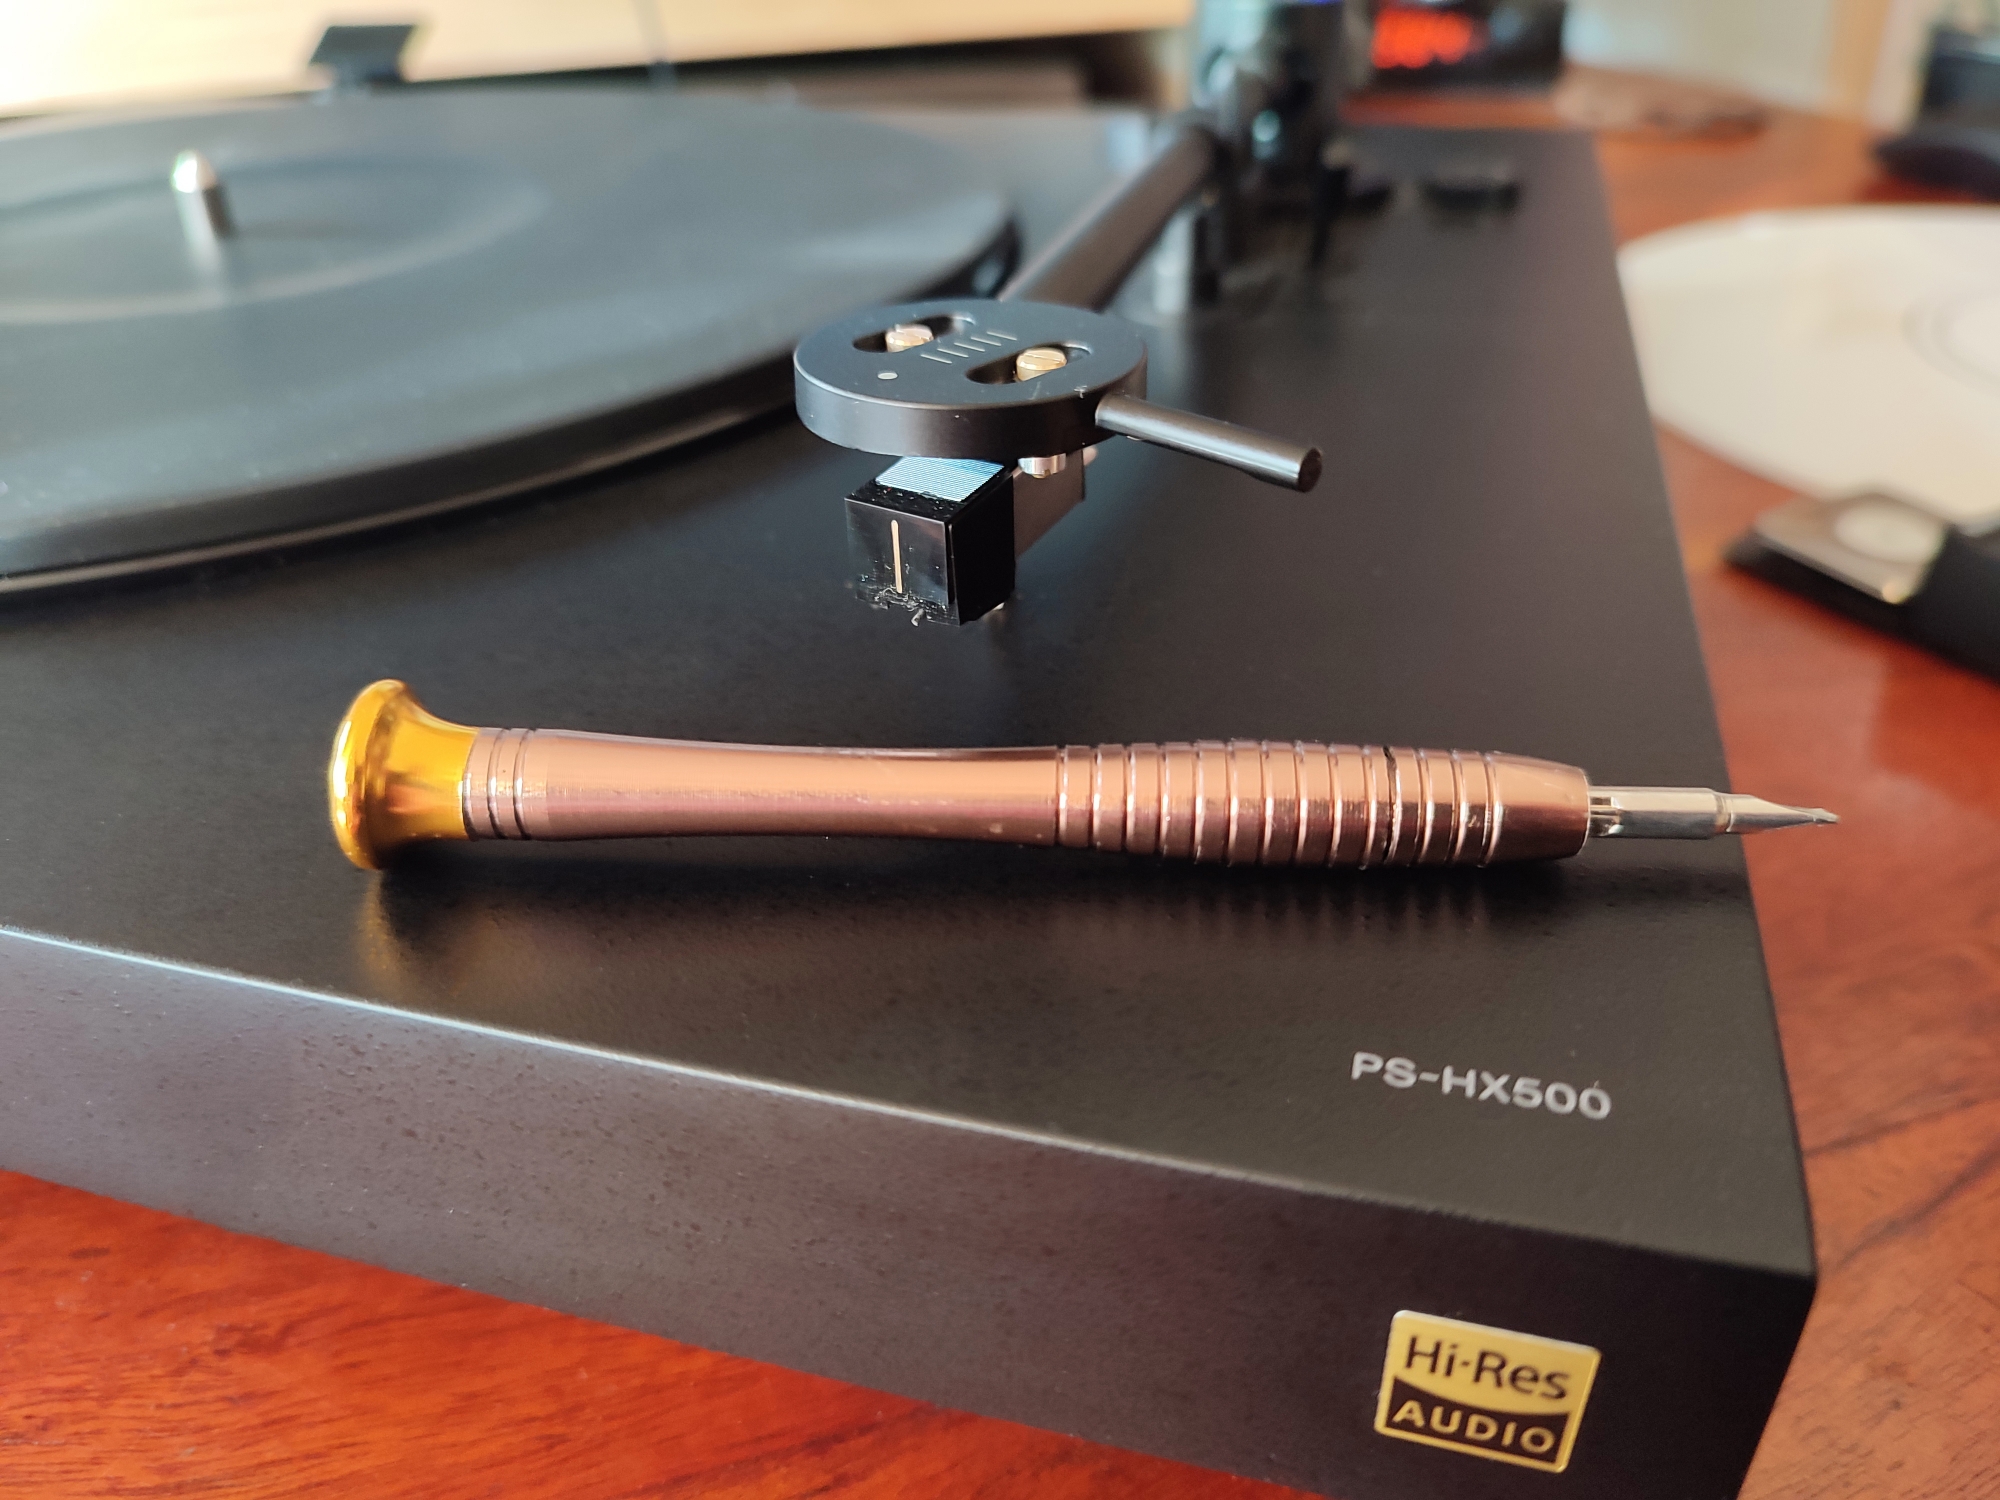
Secondly, fitting the new cartridge really was as fiddly as expected – there’s no way remove the headshell so you have to fit it in-situ, and there’s no easy method to hold the nuts in place as you try and connect the screws from above. The best method I could work out was to first secure the new cartridge roughly in place using electrical tape, making sure the screw holes aren’t covered. Then a thin piece of metal could be used as a little tray for the nut (I used a craft knife) – with a few attempts, this technique yielded success. I actually can’t think of many other ways it could be done!
Align, Adjust… Calibrate!
Once the new cartridge is (roughly) in place, it needs to be fine-tuned. After all, there’s no point fitting something of this standard without making sure it’s set up correctly. Again, the key steps from Dougie’s guide are continued below:
- Properly align the cartridge using a cartridge alignment protractor / azimuth ruler
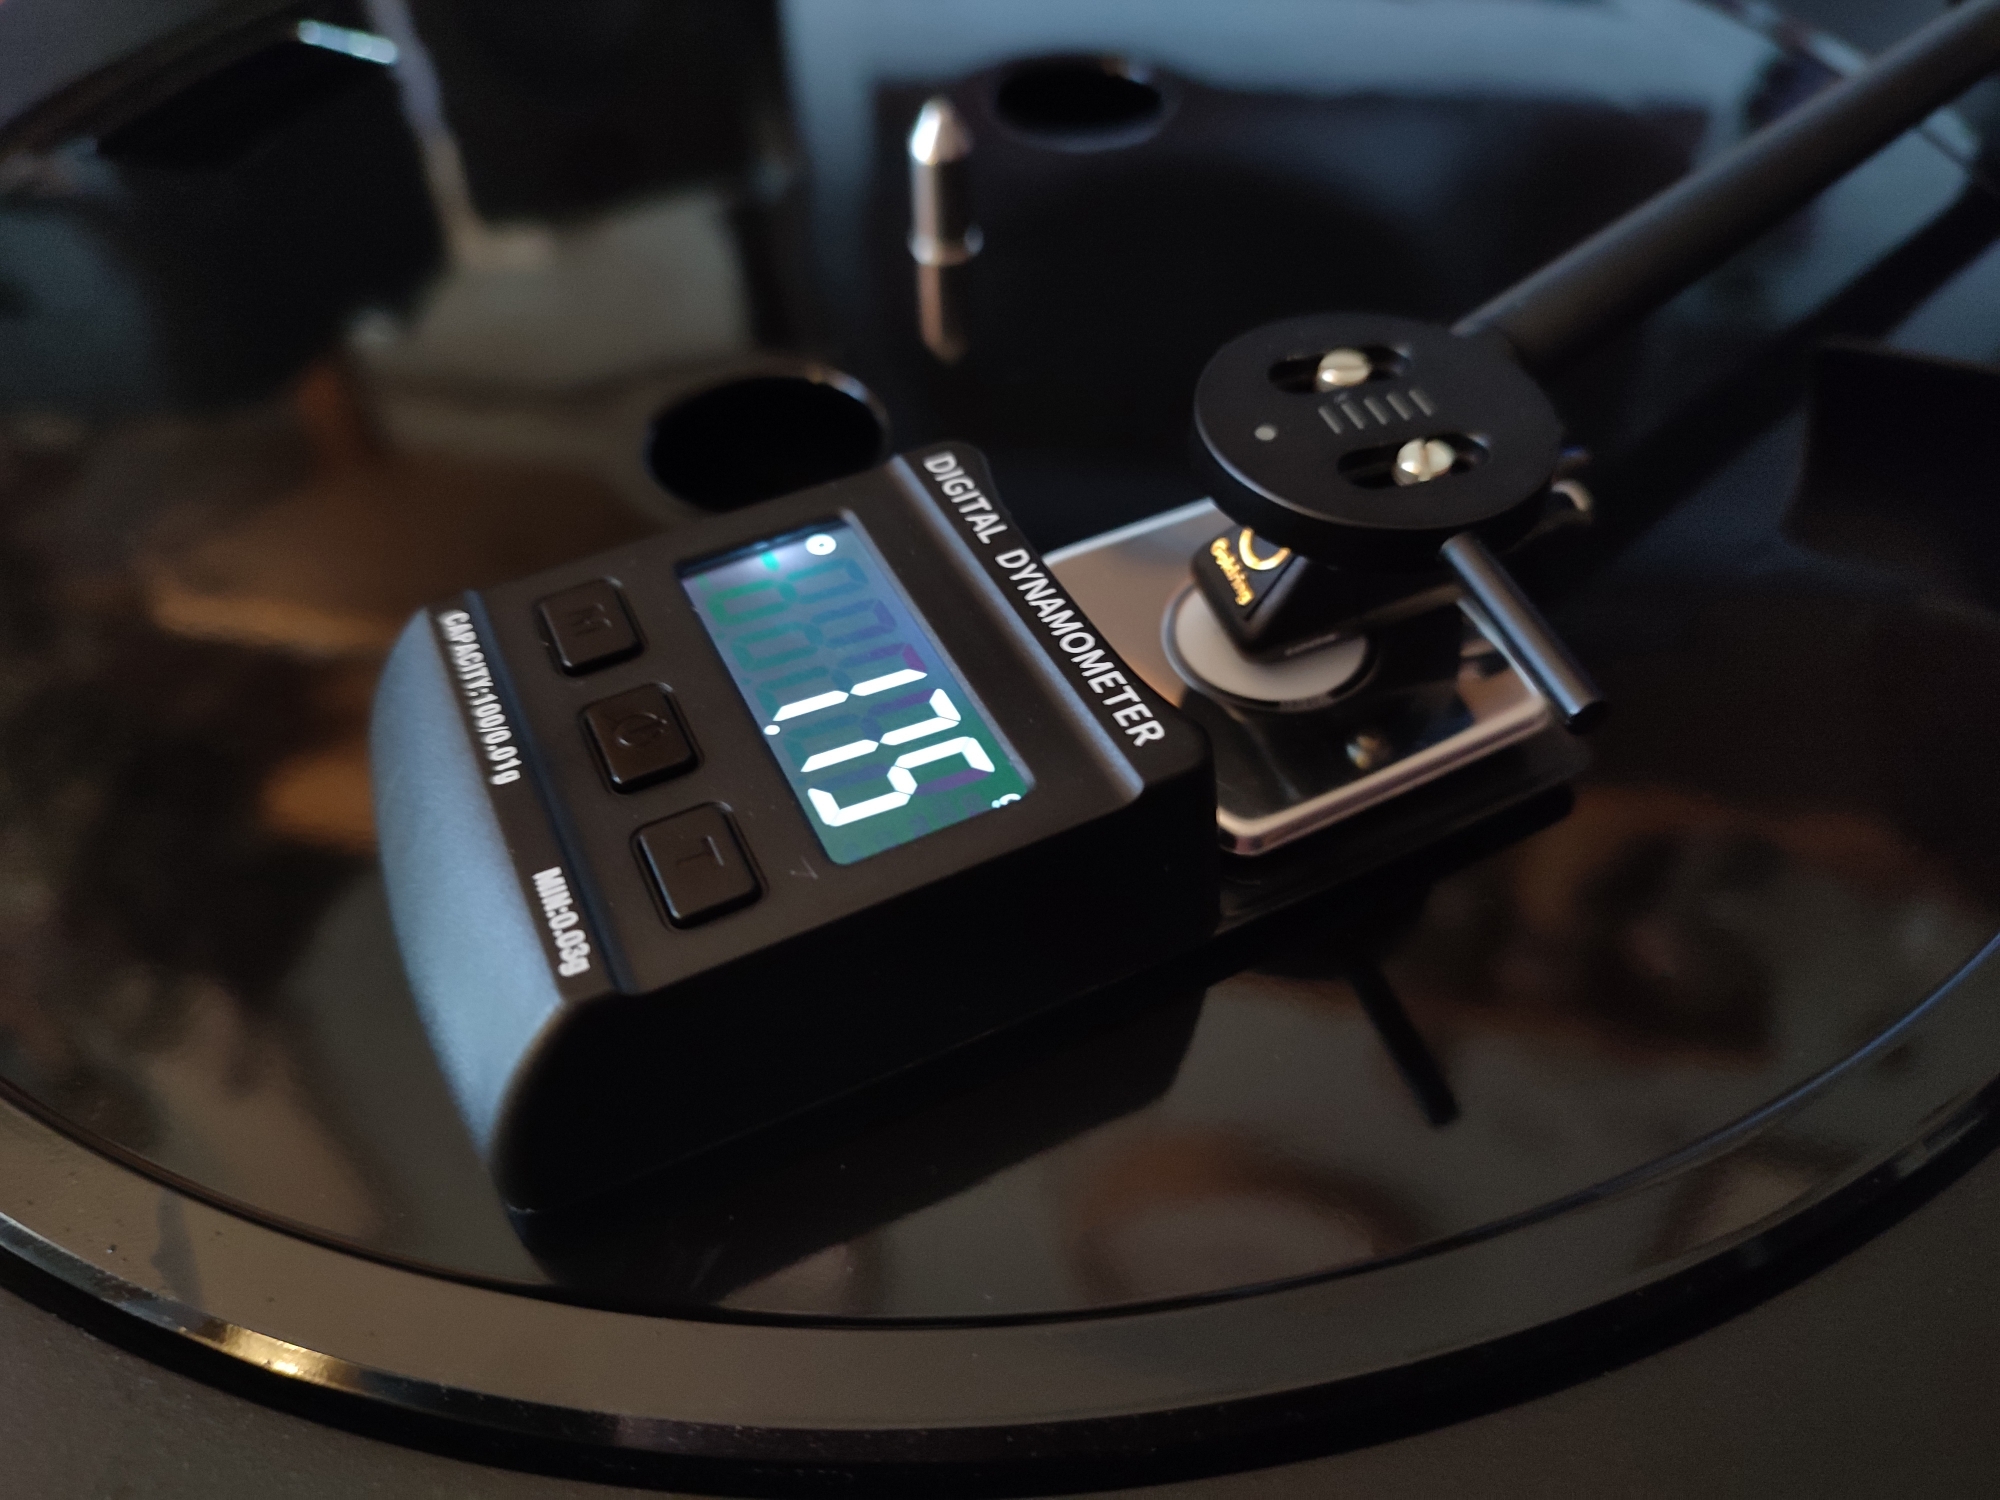
- Adjust the downforce of the stylus using a (digital) stylus force gauge.

Taping the new cartridge in place to assist installation – make sure you keep the stylus guard on!
The suggested downforce of your stylus should be listed in the manual. The Goldring 1006 suggests 1.75g, and I hit that on the nose. It’s not always obvious in downforce tutorials, but what you’re looking to do is adjust your counter weight at the other end of the tone arm until the force gauge matches the suggested weight. I also took off the rubber mat to roughly cancel out the height of the gauge itself. You should also set your anti-skating dial to 0, so all the tone arm force is downwards – this will need to be reset / calibrated again at the end.


Finally, it’s never a bad idea to check that your turntable is on a level surface and the platter is spinning flat too. I needed to adjust the whole unit a little, whilst checking the belt is flush to the underside will help prevent any vertical fluctuations (‘the wobbles’).
For the calibrating tasks, I found these 3 online tutorials the simplest and most aligned to the tuning kit I had. The playlist embedded below has tutorials on 1) horizontal (protractor) alignment, 2) vertical (azimuth) alignment and 3) stylus force gauging, in that order. Hit the “1/3” button in the top right to choose between them:
Conclusions
Was it easy to do?
Yes, fiddly but technically straightforward.
Does it sound any better?
Yes, definitely a more detailed sound, particularly in the higher end. Cymbals and snares sound amazing!
Is it worth doing?
Yes, if you are set on upgrading your Sony PS-HX500 and think the cost is worth the improved sound. If your only goal is a better-sounding turntable setup, then that money would be better spent on a more ‘audiophile’-spec turntable. For example, right now there’s a Rega P2 for £249 on eBay, fully serviced with a new MM cartridge.
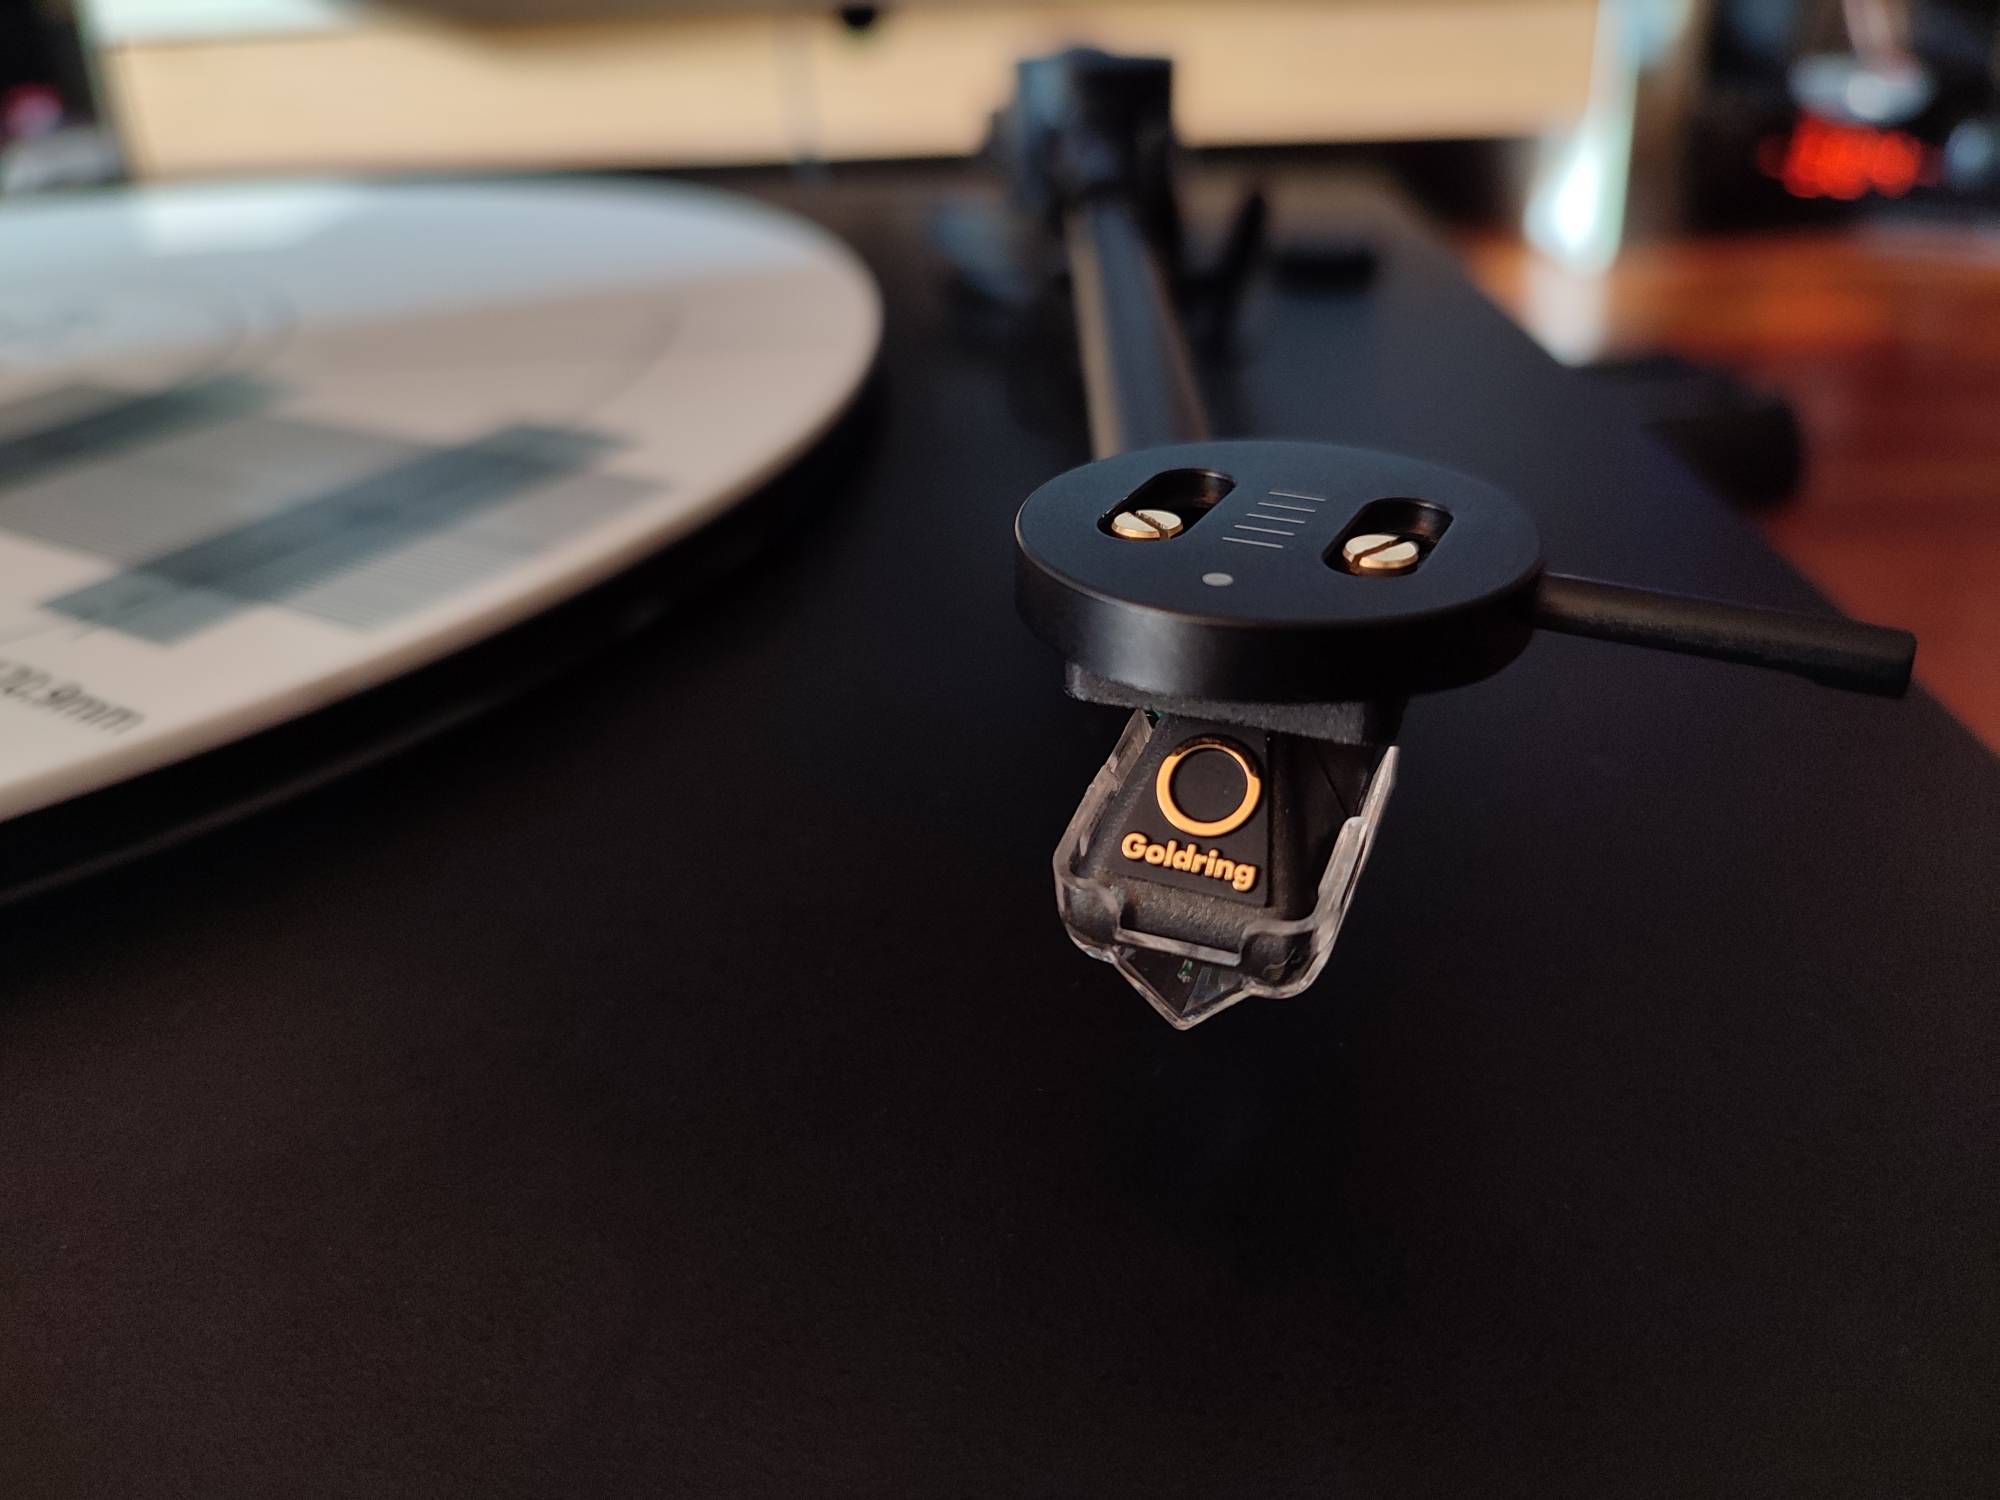
The final, fitted & calibrated Goldring 1006 on my Sony PS-HX500 – looking good!
What sounds best?
I’ve listened to fair few records on it so far (and will likely take a bit longer to ‘bed in’), but an example of an album I’ve noticed a marked improvement with is Terrain by Portico Quartet – if you like music of a similar dynamic range & style, the Goldring 1006 might be for you:
Hi,
Thanks for sharing this! I’m considering the Goldring 1006 for my PS-HX500 too. Did you have to change the 5mm mat? Have you measured the VTA / SRA? Do you still have the VTF at 1.75g? What’s the anti-skate? Does the TT like it? Currently I have an AT-VM95E with VTF and anti-skate at 2.0g and I got some skips. Had to move anti-skate to 3.0 for better results.
Thank you!
Hi Val, I’ve somehow only just seen your comment… apologies! I have to admit I wouldn’t have been able to answer a lot of your questions anyway. I had already changed the mat, but think the new one is also 5mm. It took a bit of tweaking to get the anti-skate feeling ‘perfect’ but stuck with the recomended downforce of 1.75g and adjusted the arm from there. I’ve never noticed a skip since I set it all up – the whole setup has a nice, warm sound. As it’s been so long, I imagine you might’ve made a decision and upgraded – whatever you went for, I hope it sounds good!